eCommerce | Integration
Start your eCommerce integration
- Pass the API key into a REST API call as a header parameter with the following format:
curl -H 'x-api-key: b1f323f8-16c1-4610-8457-c4942a928f31'
Warning!Do not share your secret API keys in publicly accessible areas such as GitHub, client-side code, and so forth. Keep them secure!
-
Test the test API key, in our Paybyrd API Reference, by doing the following:
- Access an “API Reference” page dedicated to an endpoint, for instance, the Create Payment
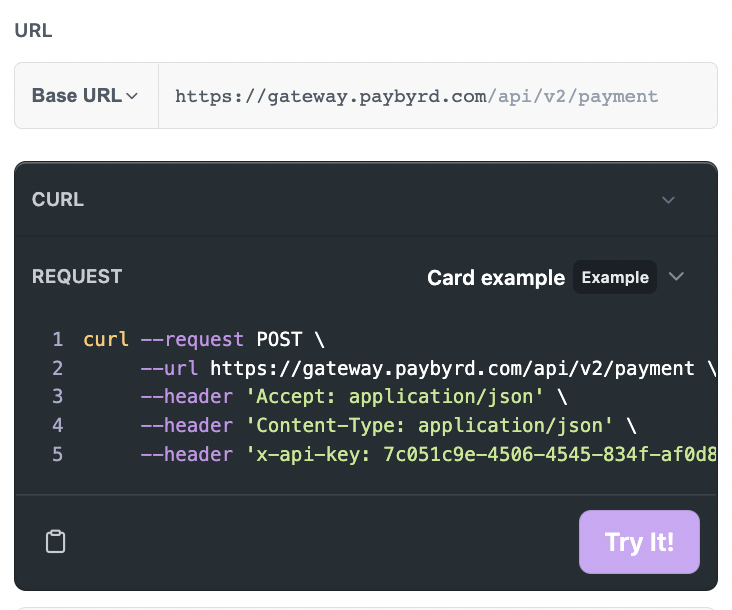
- Insert your test API Key on the Authentication Header

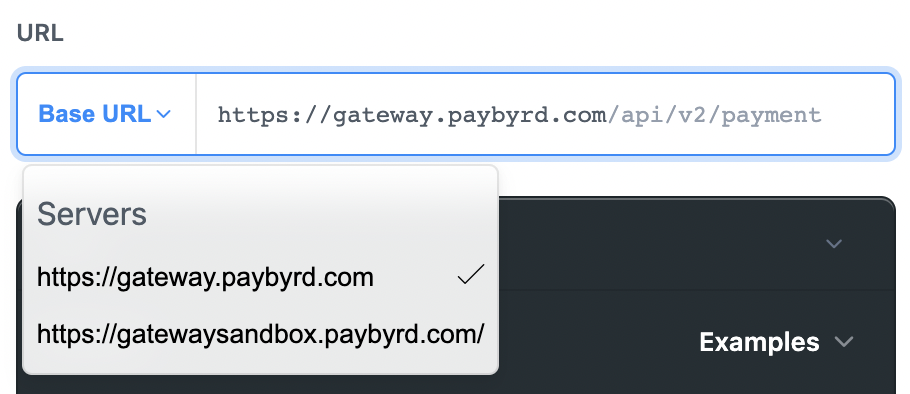
- The “Base URL”, always choose the “https://gateway.paybyrd.com/api...” and NOT the “https://gatewaysanbox.paybyrd.com/api...”

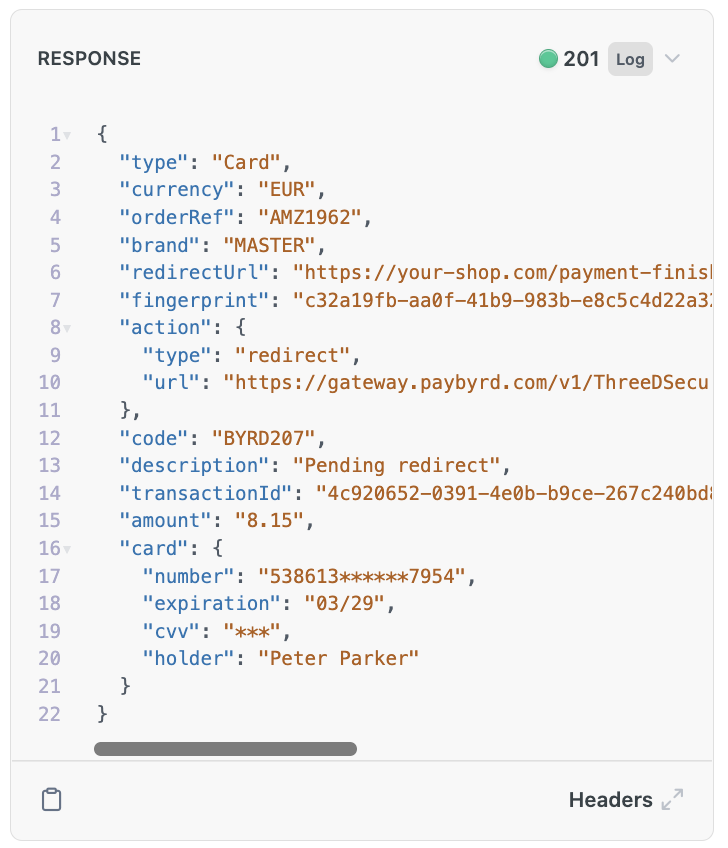
- You can choose an already pre-filled Request example, with your test API Key, and check if it’s valid, by consulting the RESPONSE returned:


If the test API key is not valid, then after clicking “TRY”, it’ll return the error 401 with the "Authorization has been denied for this request" message on the RESPONSE.
On the “Example” button on the REQUEST window, you can choose the payment methods available (card, POS, Multibanco for instance).
-
You can experiment, with any type of transaction and/or feature by filling up the parameters available on their forms, considering the points previously mentioned.
-
To help you with REQUESTS, and to understand their RESPONSES outputs, you can consult our Appendix, which has Paybyrd’s tps://docs.pay (https://docs.paybyrd.com/reference/appendix-return-codes), s] (https://docs.pay (https://docs.paybyrd.com/reference/appendix-transaction-status), ] (https://docs.pay (https://docs.paybyrd.com/reference/appendix-operation-types), docs.pay (https://docs.paybyrd.com/reference/appendix-brands) and tps://docs.pay (https://docs.paybyrd.com/reference/order-status) terminology.
API References Summary
Name | Description | Endpoint(s) |
|---|---|---|
This endpoint once made a request, creates a “TransactionID”, This endpoint is valid to trigger a payment directly via API if user’s details are known. | //gateway.paybyrd.com/api/v2/payment | |
These are the types of payment transactions that can be done after a transaction has been created. There are the following types of transactions: | //gateway.paybyrd.com/api/v2/refund/{transactionId} | |
This allows you to receive notifications, informing you of payment status updates. You need to create on your server an URL to receive an HTTP POST request from Paybyrd and configure it in your subscription. | //gateway.paybyrd.com/api/v1/webhook | |
This allows you to create or resend a Pay by Link, so you can send your customer an online link to pay anything you wish. Once created, a new Order is generated. It’s a simple web address that can be shared via SMS or email with your customers, once clicked it’ll open a payment form on a web browser. | //gateway.paybyrd.com/api/v2/paybylink | |
This allows you to create subscription-based payments with a configurable time of recurrence. | //gateway.paybyrd.com/api/v2/subscriptions | |
This allows you to create a new Order, that can be paid by enabling and using the Hosted Form feature. | //gateway.paybyrd.com/api/v2/orders | |
This allows to create and manage tokens. | //gateway.paybyrd.com/api/v2/tokens |
Updated 4 months ago
