WooCommerce
WooCommerce enables you to turn your WordPress website into a fully functional online store. It provides essential features for e-commerce like product listing, inventory management, shopping cart functionality, order management, and secure payments.
Paybyrd’s WooCommerce plugin seamlessly integrates the secure Paybyrd payment gateway into your checkout process through a simple and quick installation.
How to install
Follow the steps to install Paybyrd's payment methods into your WooCommerce store:
Requirements
Before installing Paybyrd’s WooCommerce plugin, make sure you meet these requirements:
- WooCommerce is already installed and configured in your WordPress website.
- You have a Paybyrd account with Test and Live API keys.
When using Paybyrd’s plugin in a self-hosted or local environment, make sure that your WordPress server has a publicly exposed URL. This enables your store to properly receive the webhook notifications from Paybyrd. Order status updates in WooCommerce uses async webhook calls for order status updates, which require a publicly exposed URL.
Installing the plugin
- Open the admin page of your WordPress website
- Navigate to Plugins
- Select Add New Plugin and search for Paybyrd
- Select Install Now
- Once the installation is finished, select Activate
Installing the Paybyrd plugin
How to configure
-
Open the admin page of your WordPress website and navigate to the WooCommerce menu
-
Select Settings → Payments
The Paybyrd plugin is only listed as an available payment method when it is correctly installed and activated. Check the activation status in case you do not see it in this list.
-
Select Manage
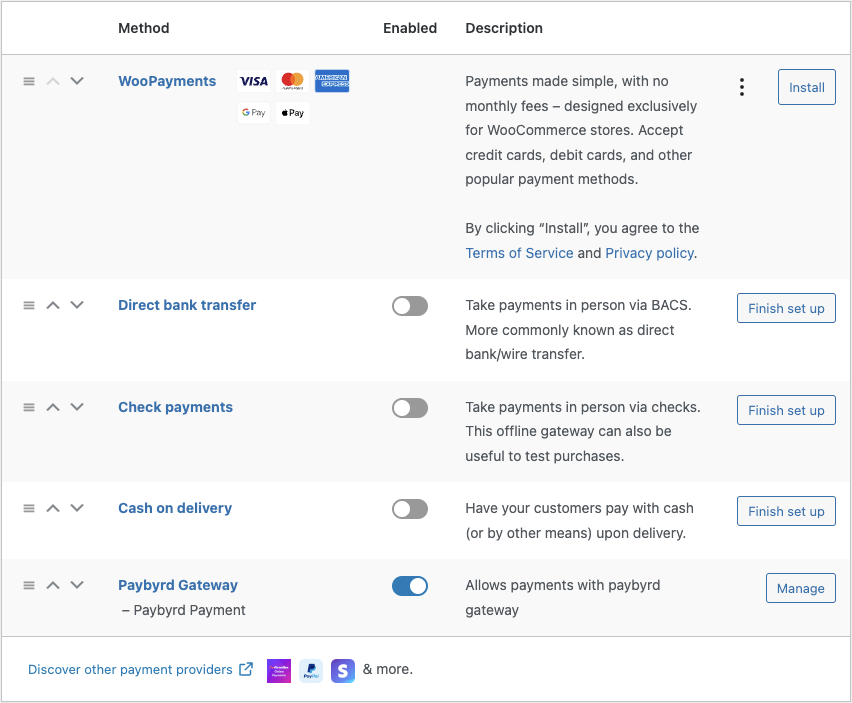
WooCommerce payment methods page
You can configure these aspects of the Paybyrd payment gateway:
-
Title and Description define what end users see when they select this payment method
-
Paid order status lets you define how the order status is set after the order is paid via the gateway. The available options are Processing and Completed.
Select Processing if you have more steps in your workflow before finishing the order fulfillment process, for example shipping.
-
Test Mode enables the use of Paybyrd’s test environment. When enabled, all payments use your Test Private Key.
-
Test Private Key and Live Private Key are the API keys required for transactions. The Test Private Key identifies you in Paybyrd’s sandbox and enables testing. The Live Private Key enables production transactions.
-
Webhook ID and Webhook Test ID are automatically generated after saving your API keys. WooCommerce uses these IDs to receive asynchronous updates when Paybyrd processes a transaction.
-
Chekcout Size defines how the payment gateway appears to the user during payment process:
- Full: in full screen, hiding your shop’s checkout screen
- Half: as a modal dialog in front of the checkout screen
-
Color settings are optional and enable you to set up the plugin to fit your store’s branding by configuring background and font colors.
-
Generate Webhook helps you create new webhook IDs. This option forces the Paybyrd payment gateway to generate new webhooks.
Only check this option when you experience problems with your test or live webhooks, or if the webhook IDs are not generated by default.
After finishing the configuration, select Save. You can now use Paybyrd’s WooCommerce plugin.
In this form, there are some key fields to be filled.
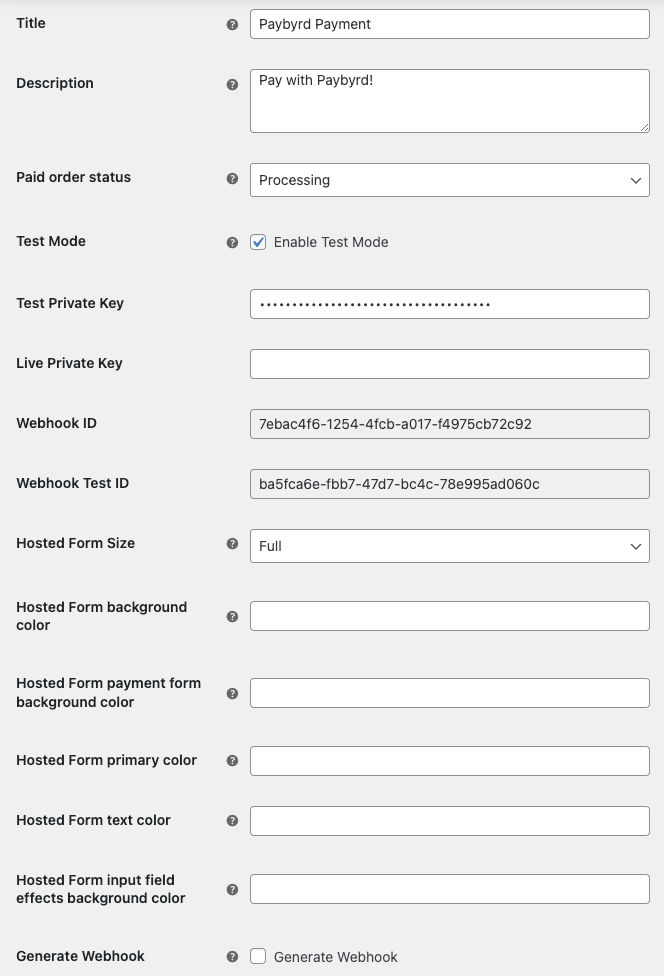
Paybyrd's WooCommerce plugin configuration form
Limitations
Checkout page layout
Paybyrd’s WooCommerce plugin extension does not support block checkout layout. When using this layout style, Paybyrd does not appear as an available payment method in the checkout page. To solve this issue, switch to the classic checkout mode in the Checkout Page:
-
Open the admin page of your WordPress website and navigate to the Pages menu
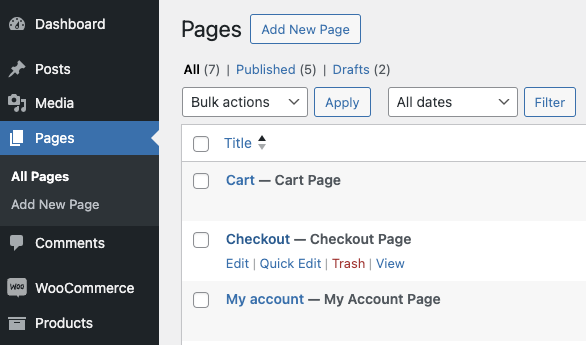
Pages configuration
-
Select Edit under Checkout
-
When using block style checkout together with the Paybyrd plugin, a warning appears on the Edit page. Select Switch to classic checkout and select Update to save your changes.

Block style checkout warning
Paybyrd should now appear as an available payment option during checkout.