POS Application Manual
You'll find comprehensive guides to help you start working with the Paybyrd POS Application as quickly as possible, as well as support if you get stuck.
1. Log-In
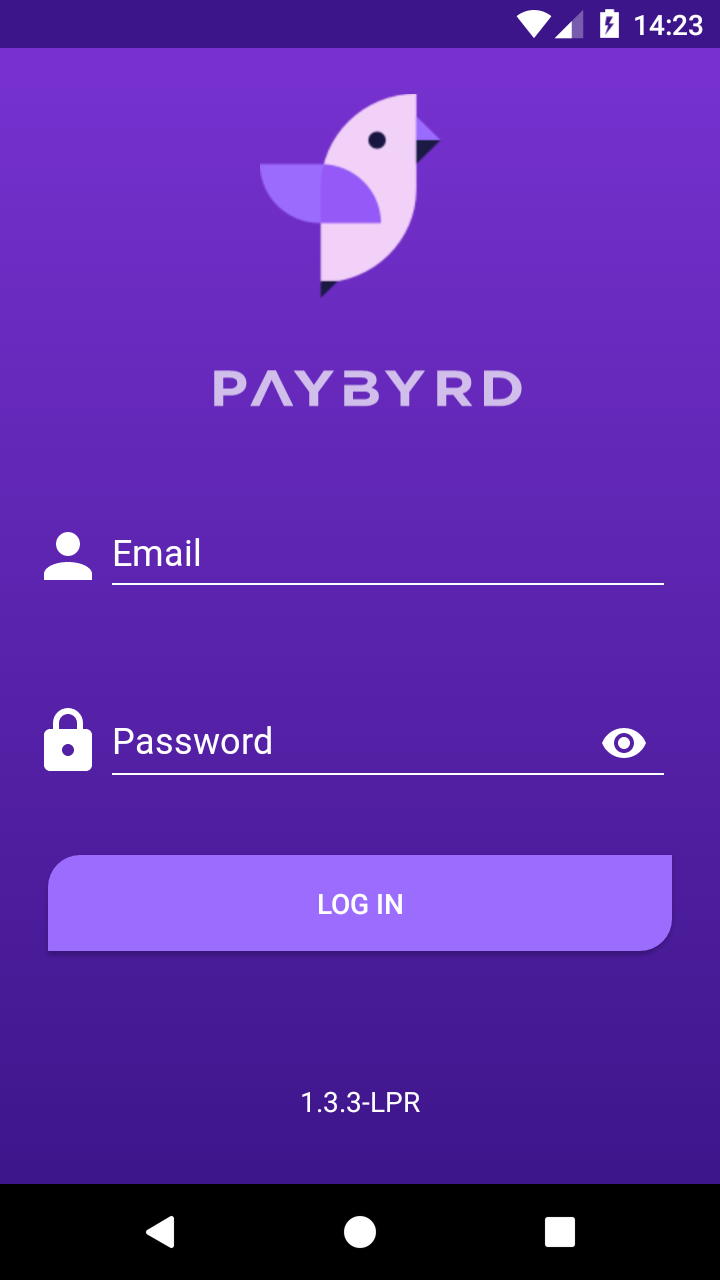
Log in using the same credentials as for the Paybyrd dashboard (e-mail and password).
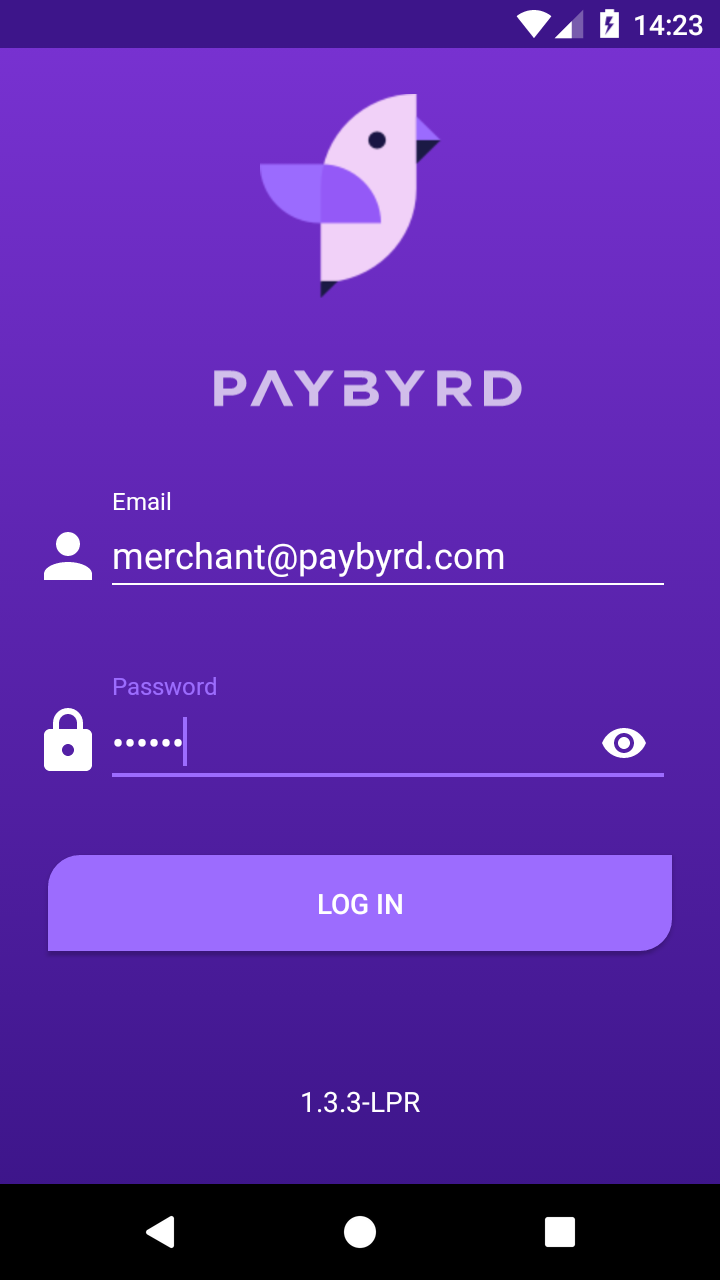
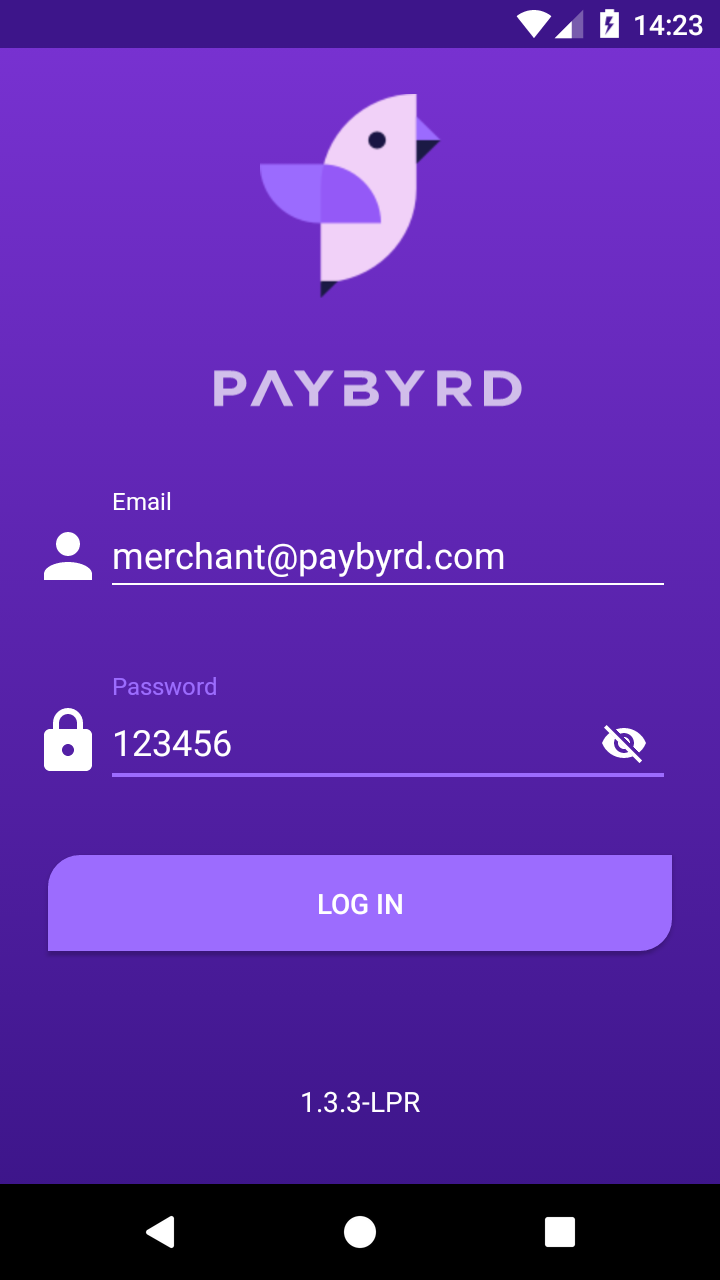
Click on the right ''eye'' to show your password.
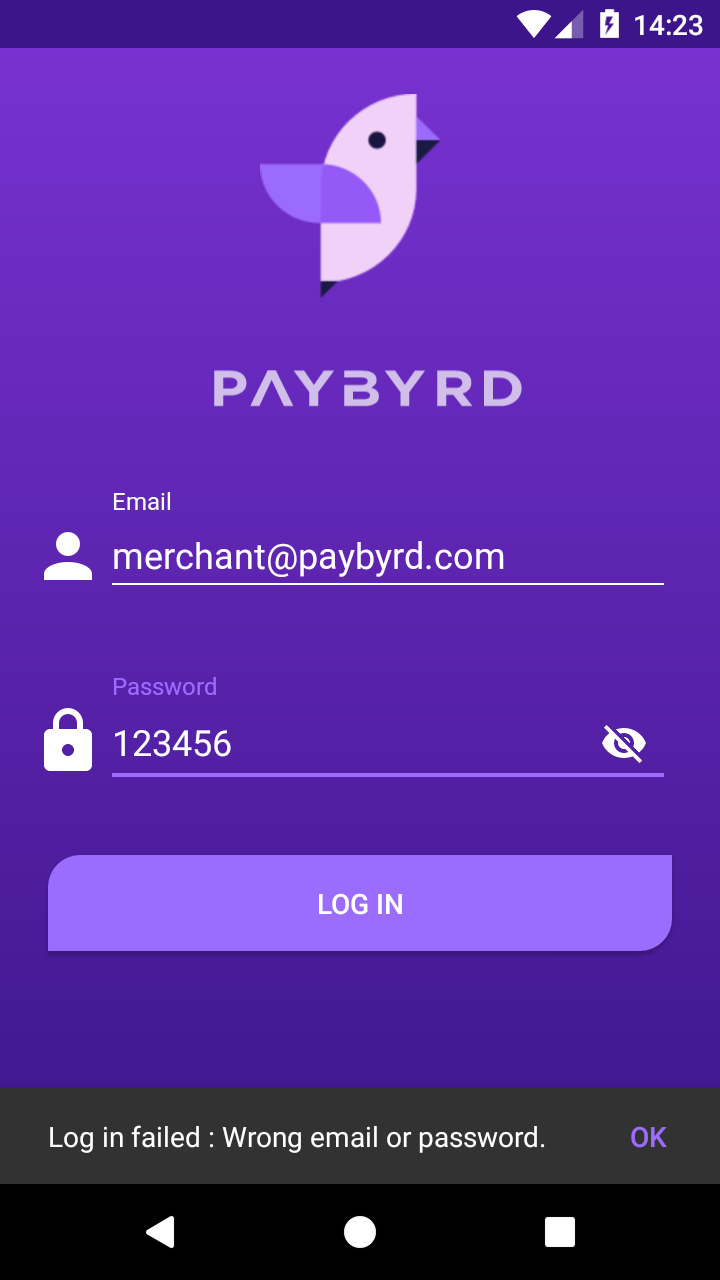
In case of fulfilling the wrong email or password, you will receive a notification on the bottom of the screen.
2. Initalization
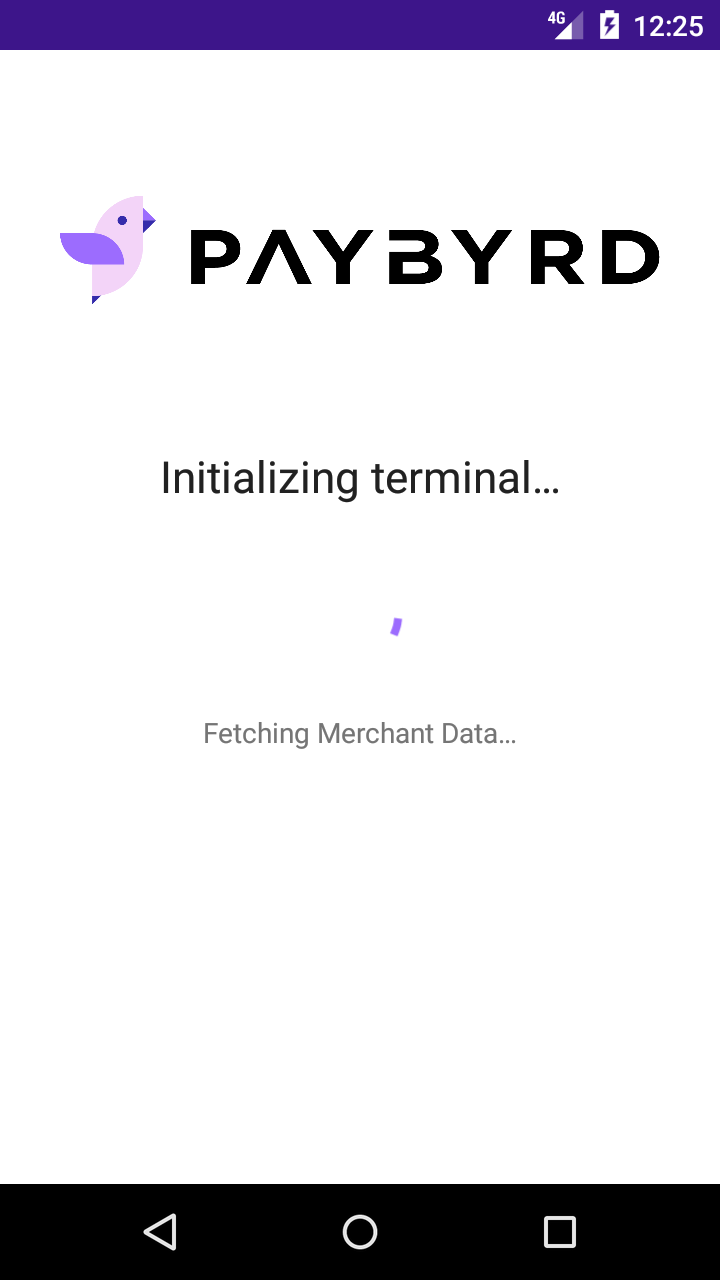
When you log in, the app will look for the Merchant Data associated with the user.
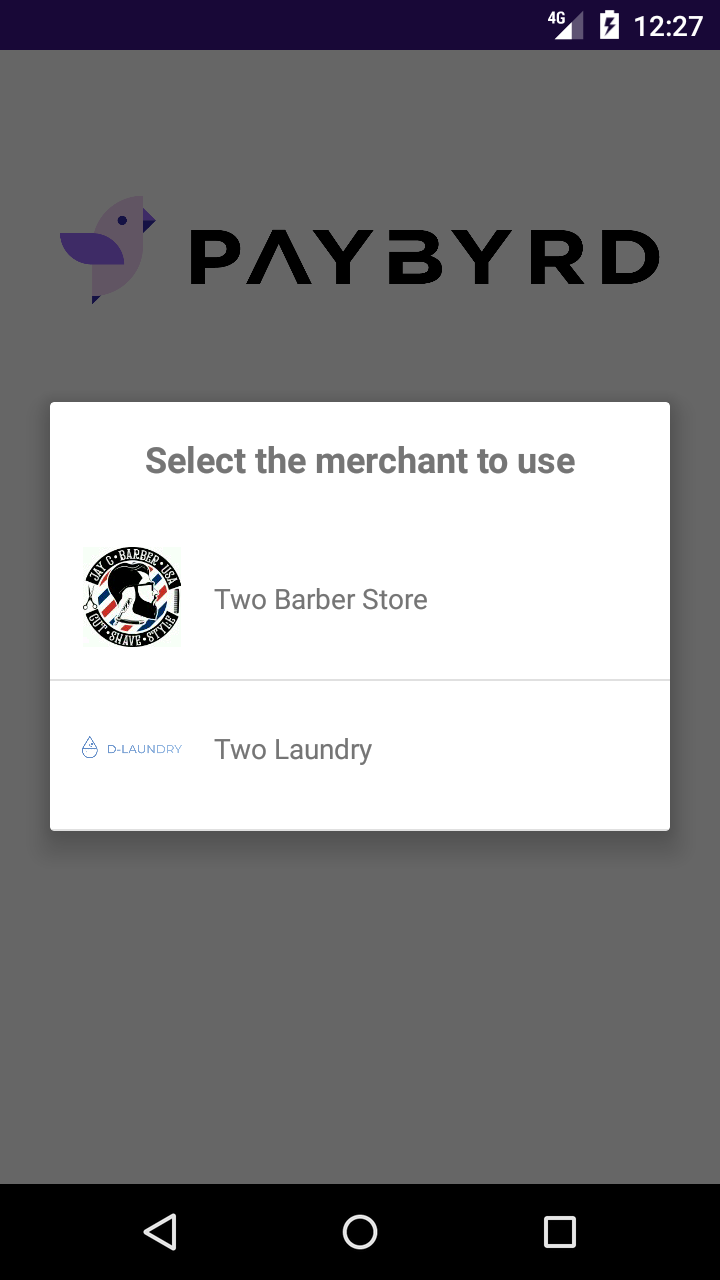
Select the merchant to use (there can be several merchants associated with a user).
Next step, the app will be retrieving the payment data and save the Merchant Data.
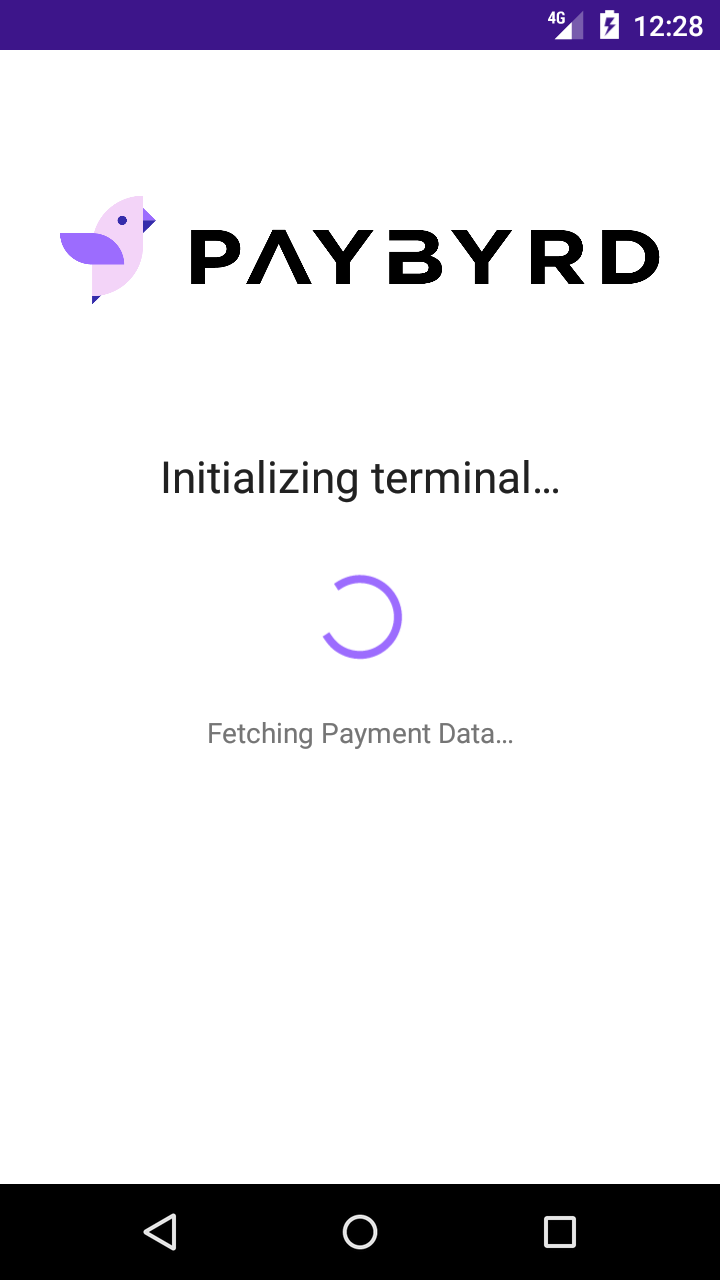
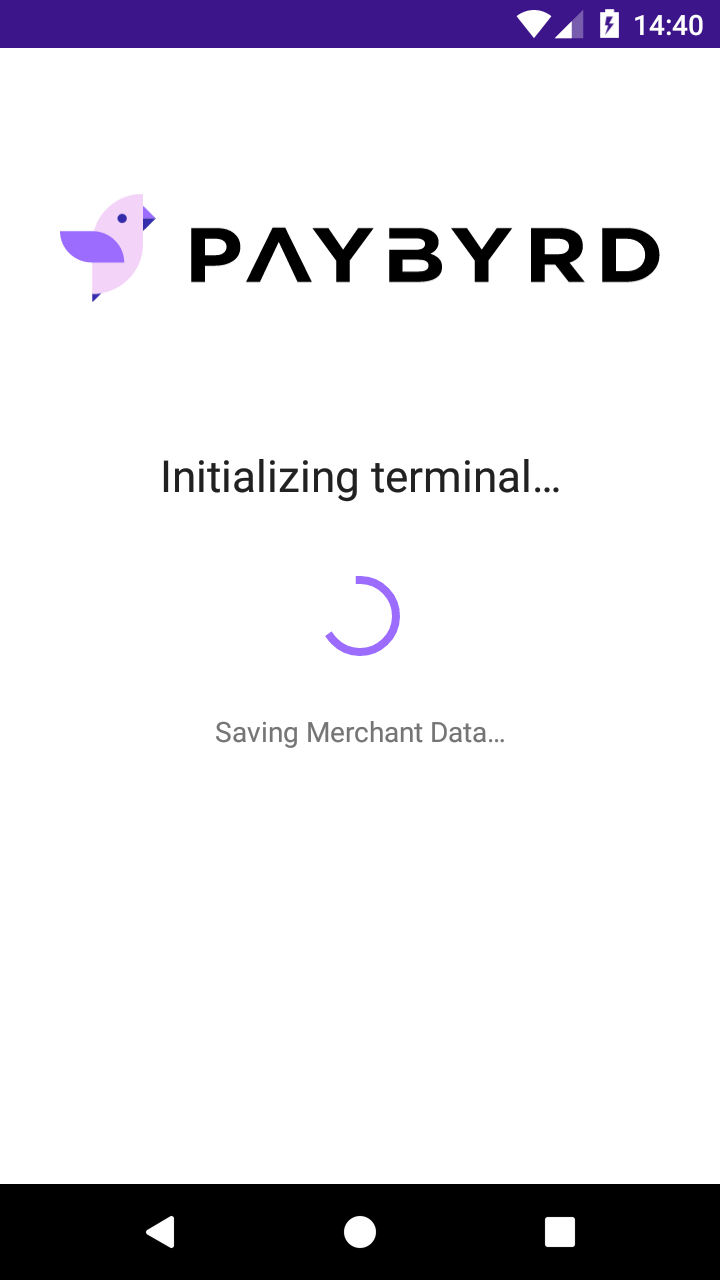
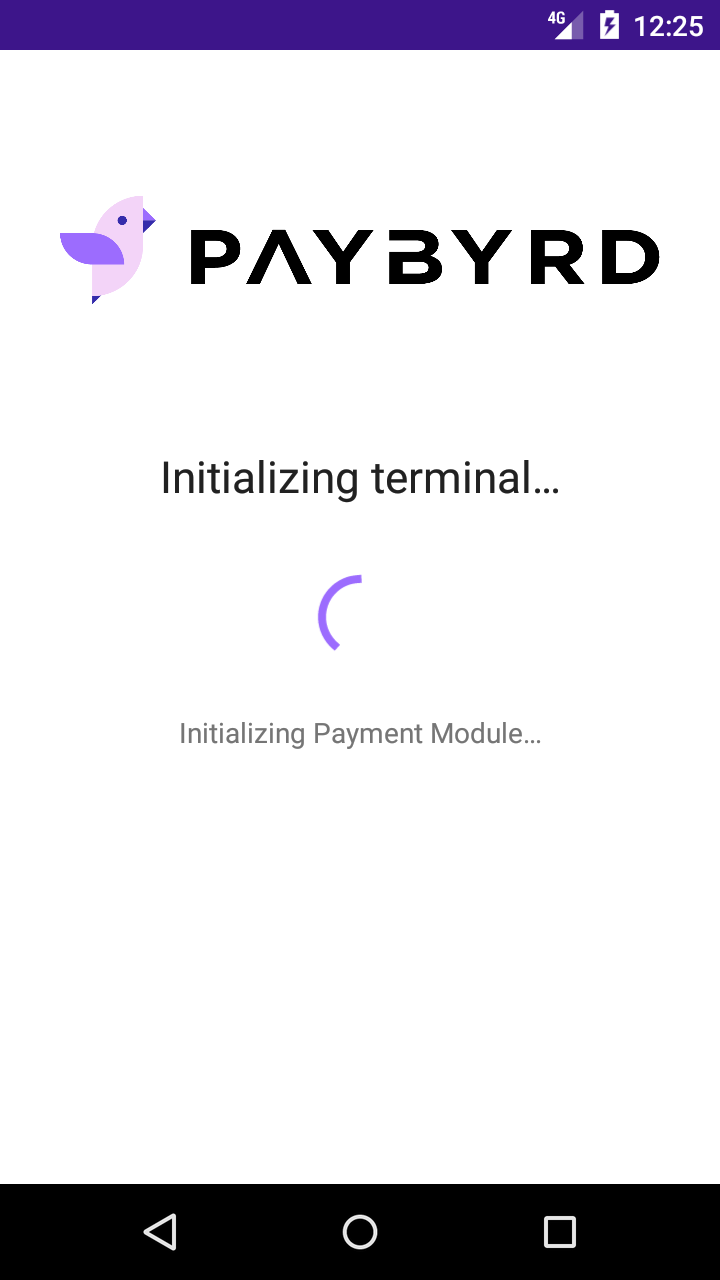
Initializing Payment Module.
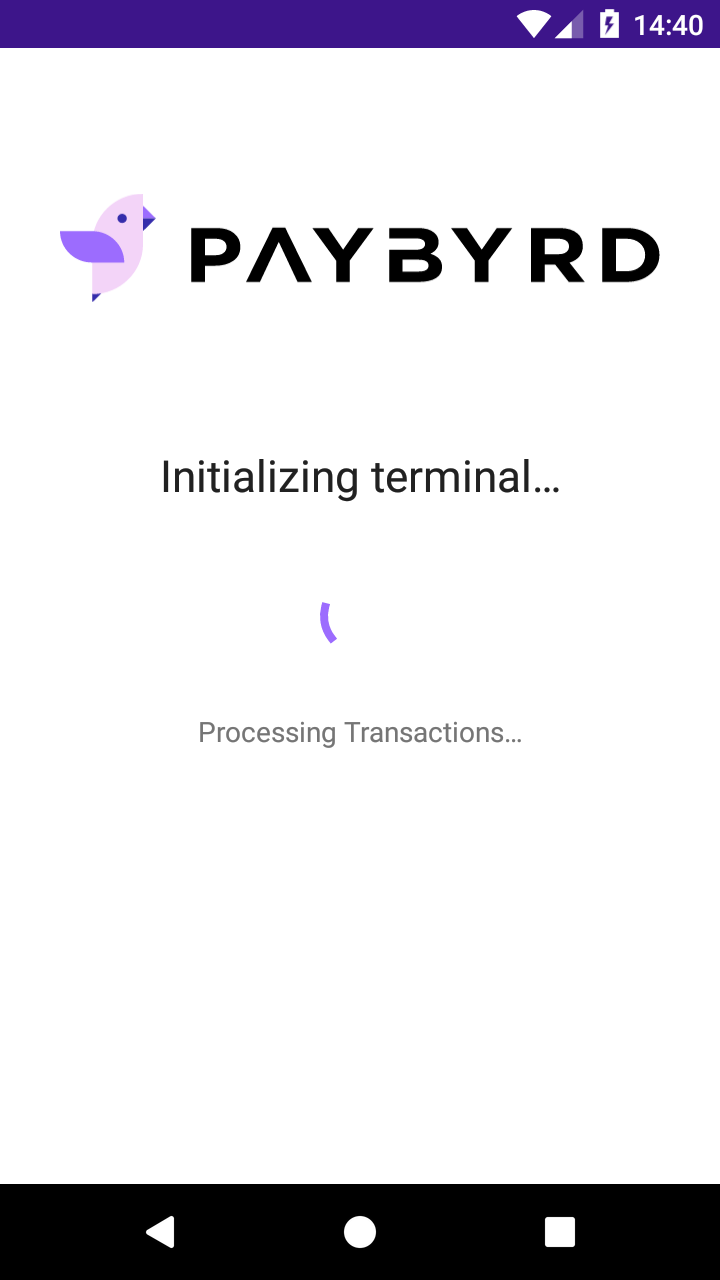
Processing Transactions.
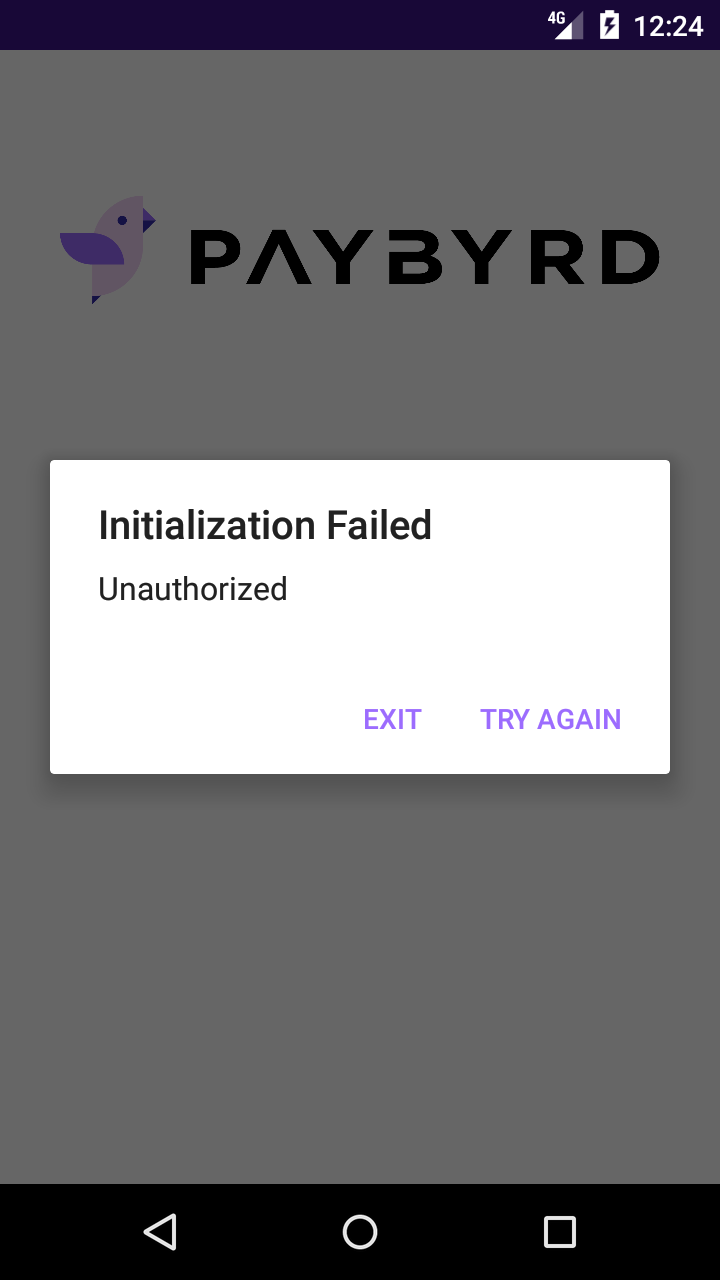
In case of initializing error, try again.
3. Menu
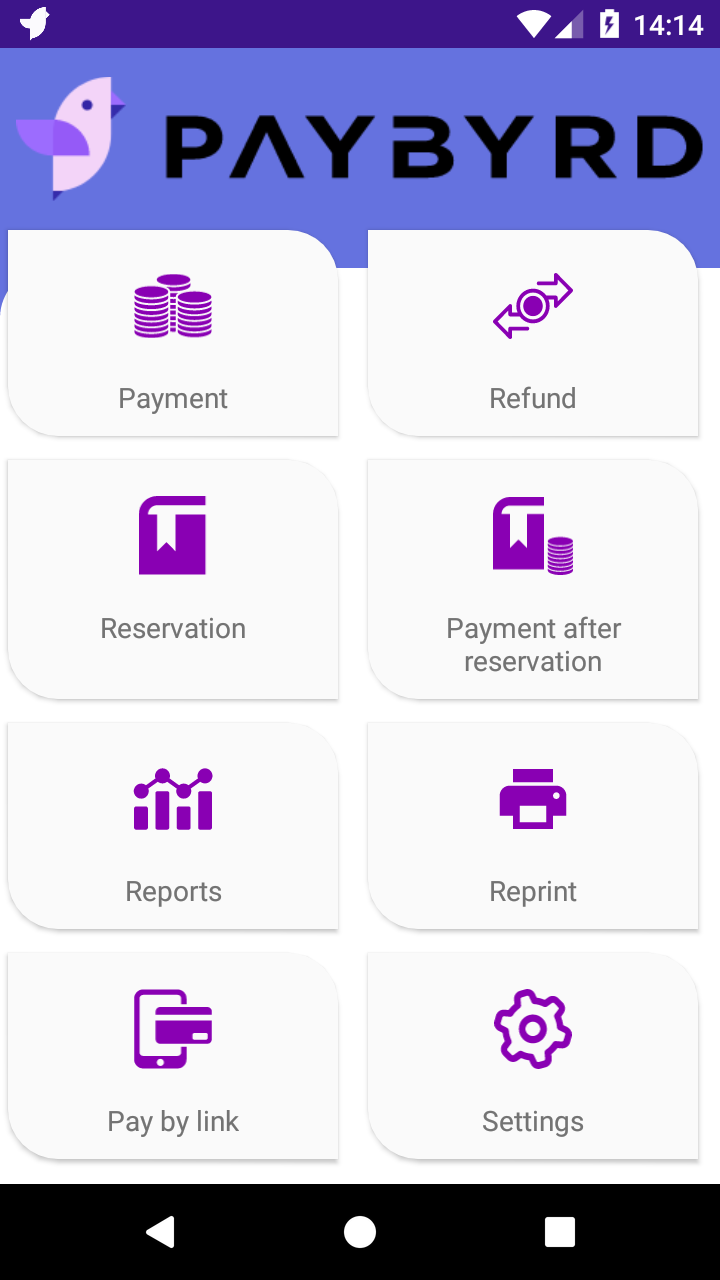
The menu contains all the main features, that you can select by clicking one.
4. Payment
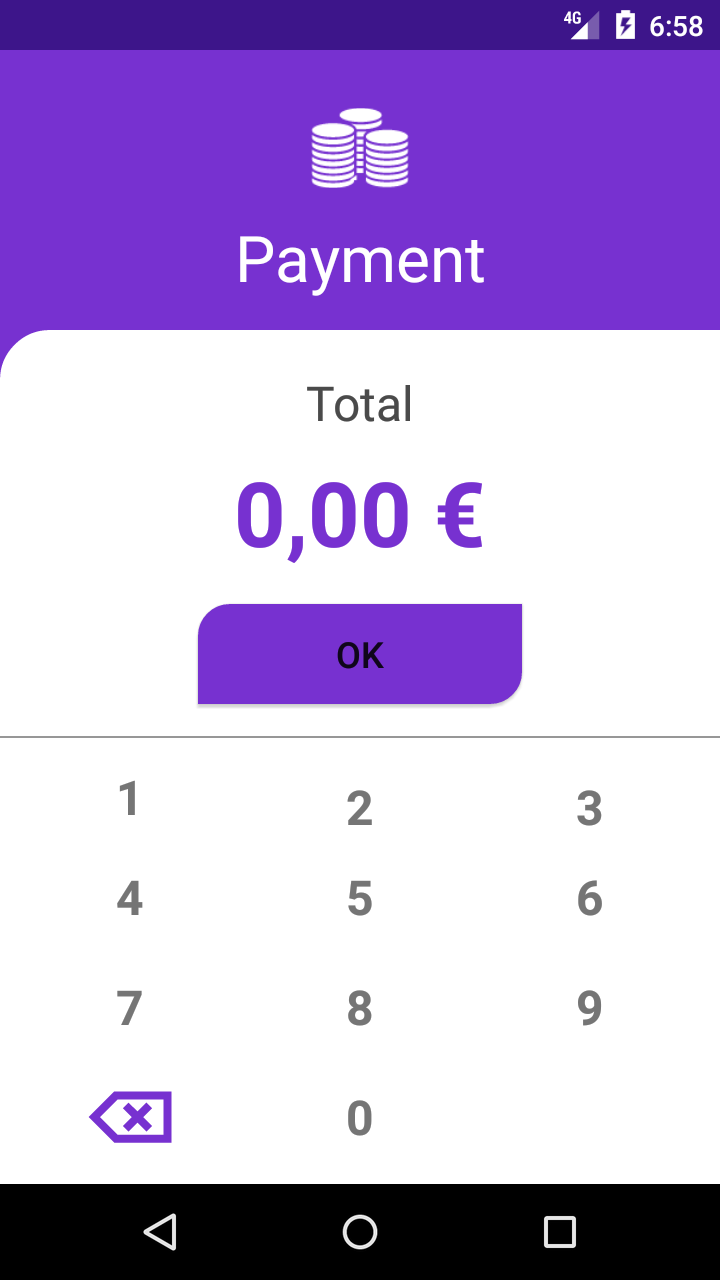
In the payment section, you should type the amount.
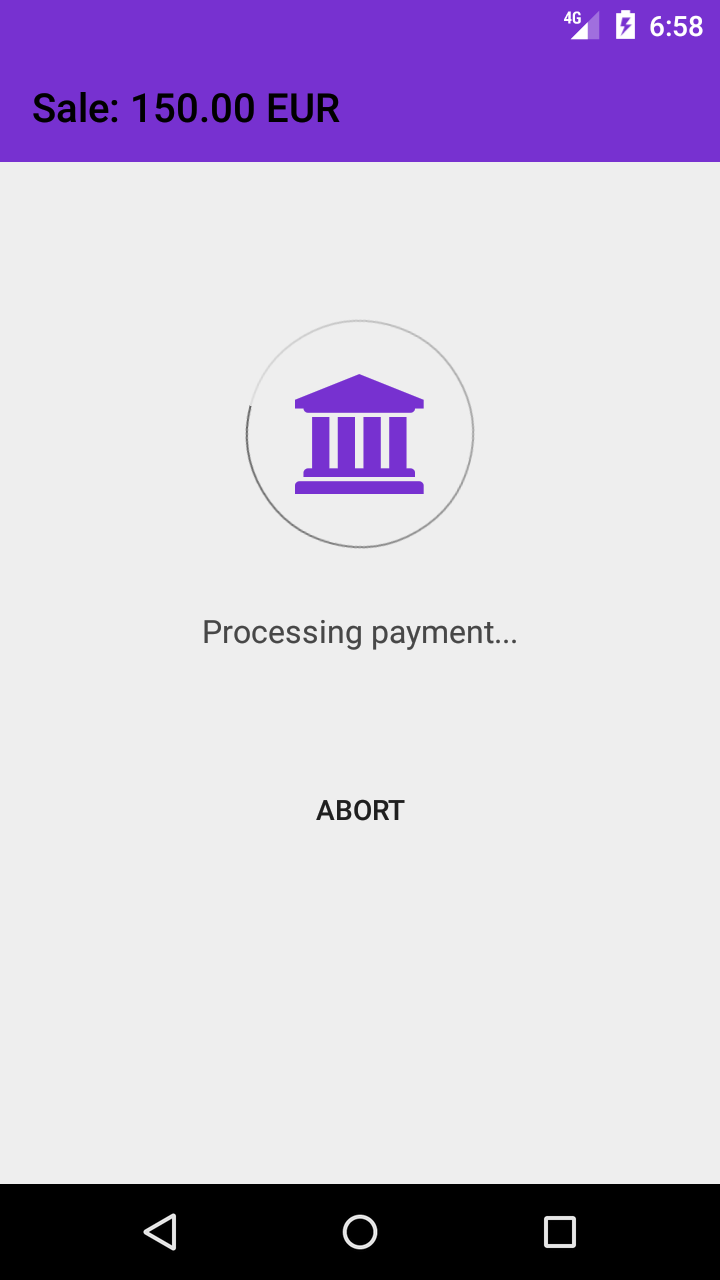
Processing payment.
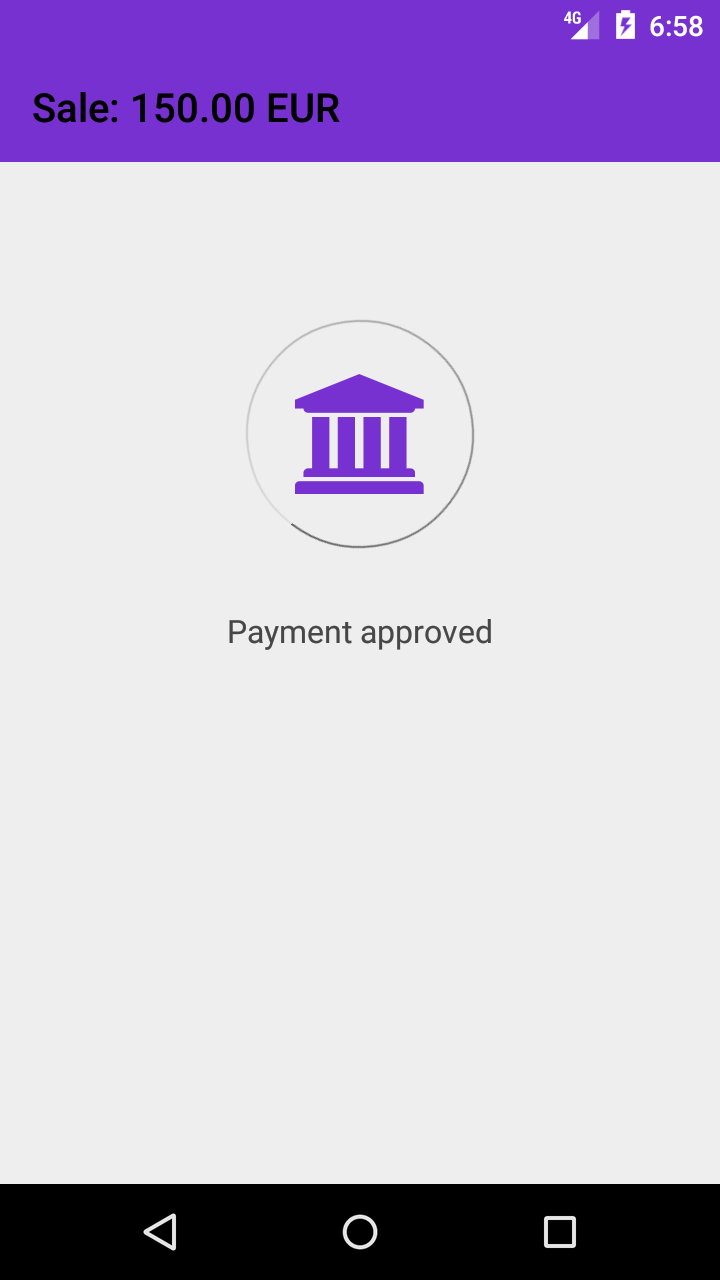
Payment is approved.
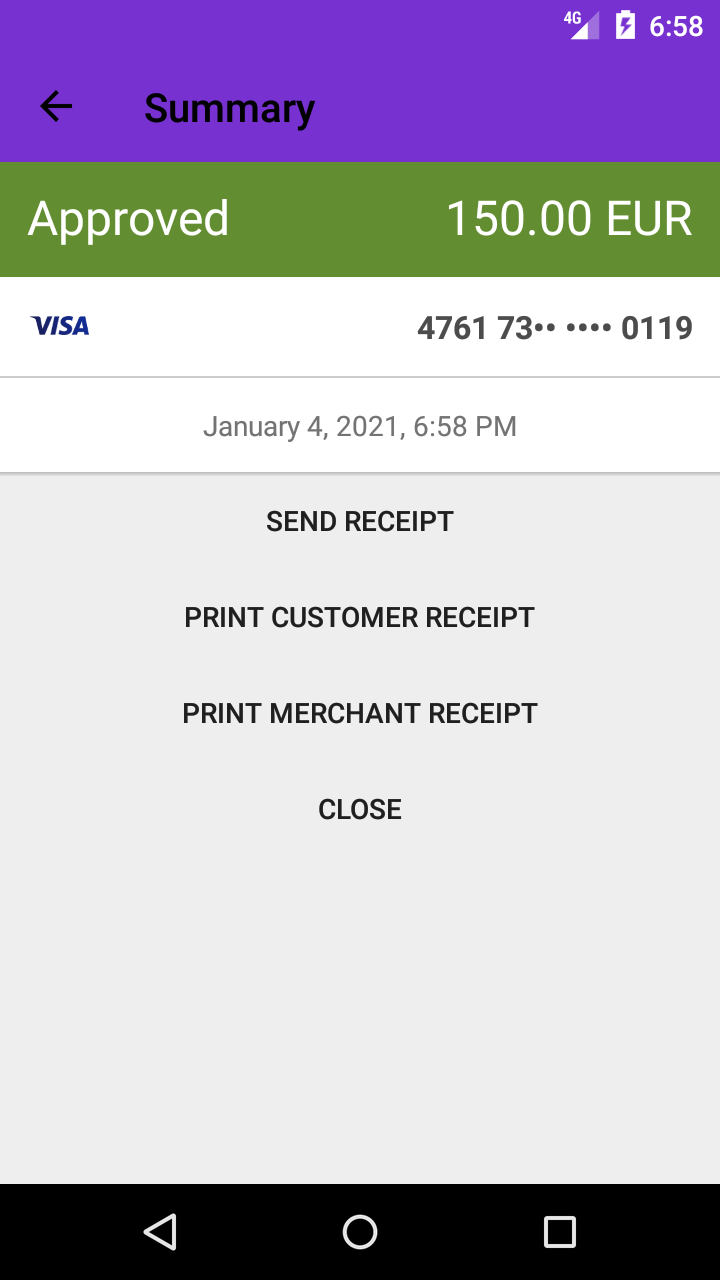
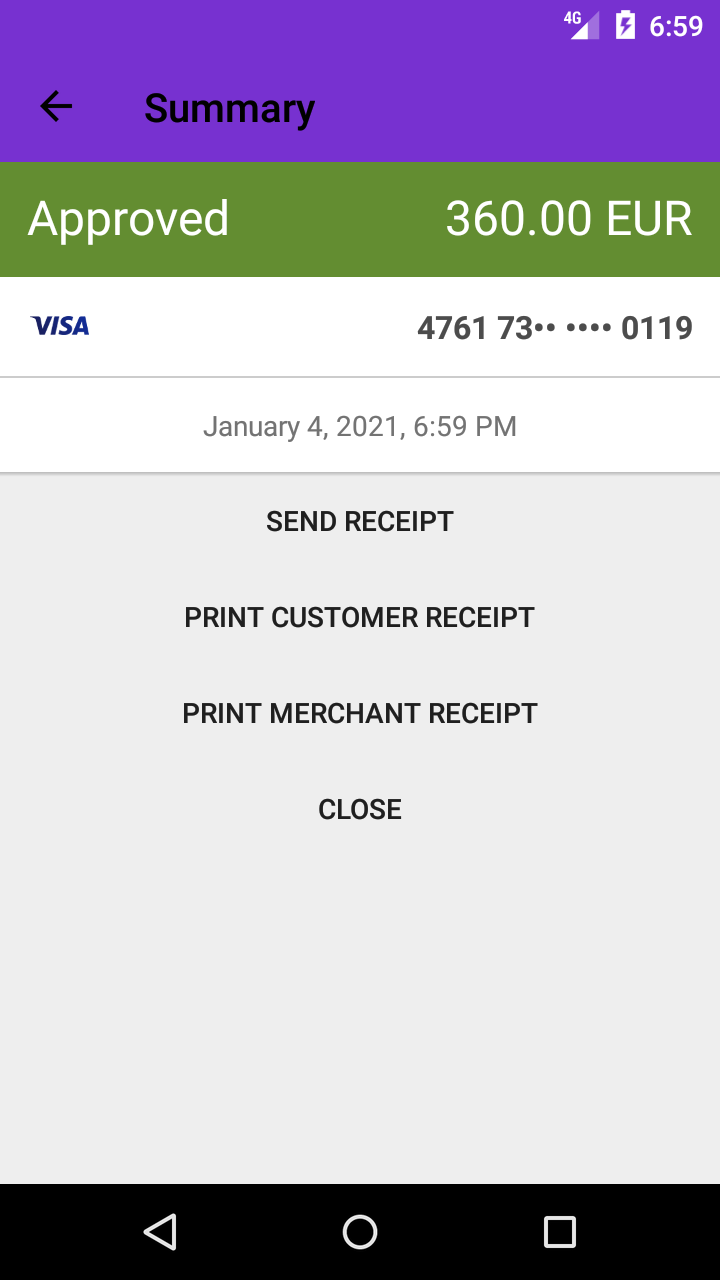
After approved payment, you can send a receipt, print a customer receipt, print a merchant receipt, or close.
5. PreAuthorization
Select partial or complete payment after reservation.
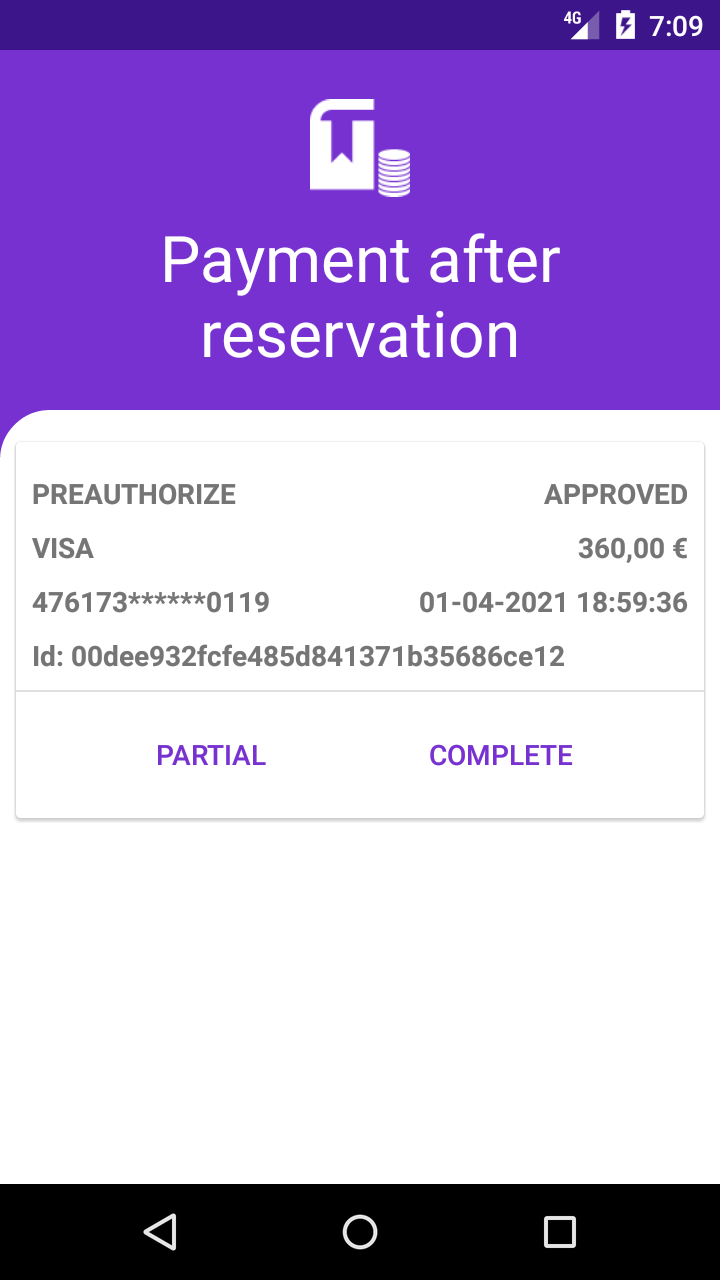
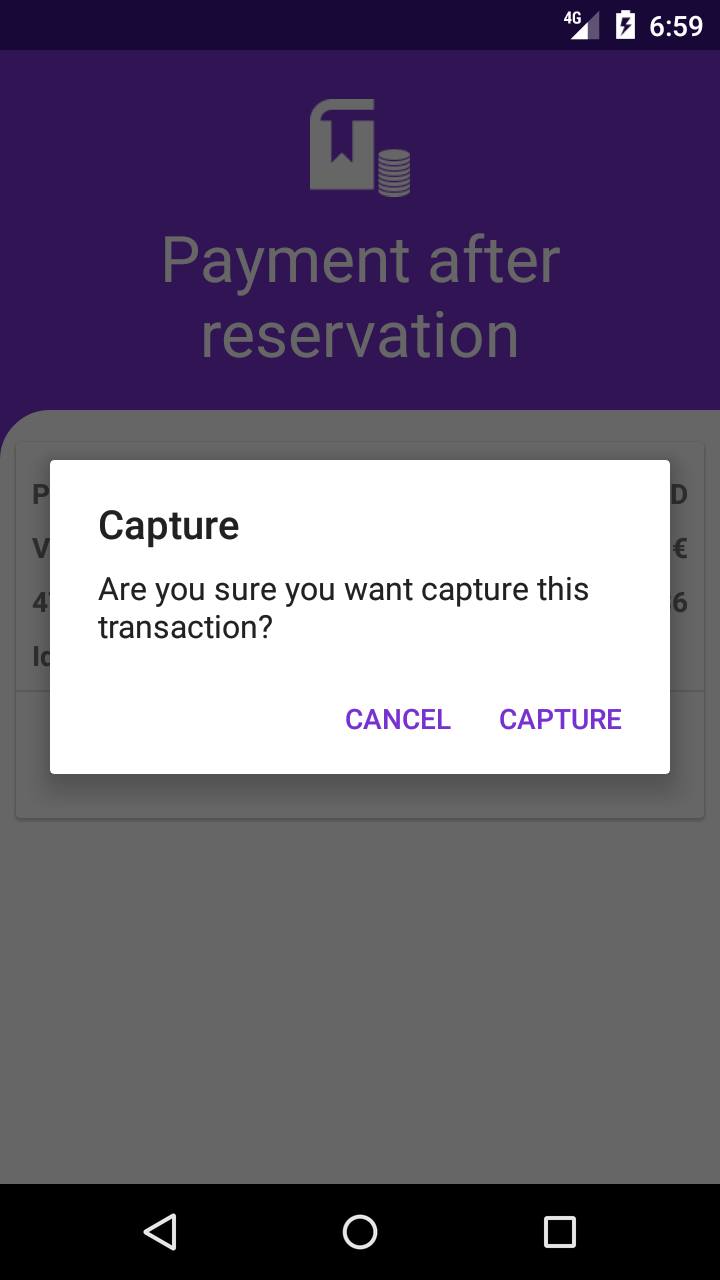
If you are sure you want to capture this transaction click on ''Capture''.
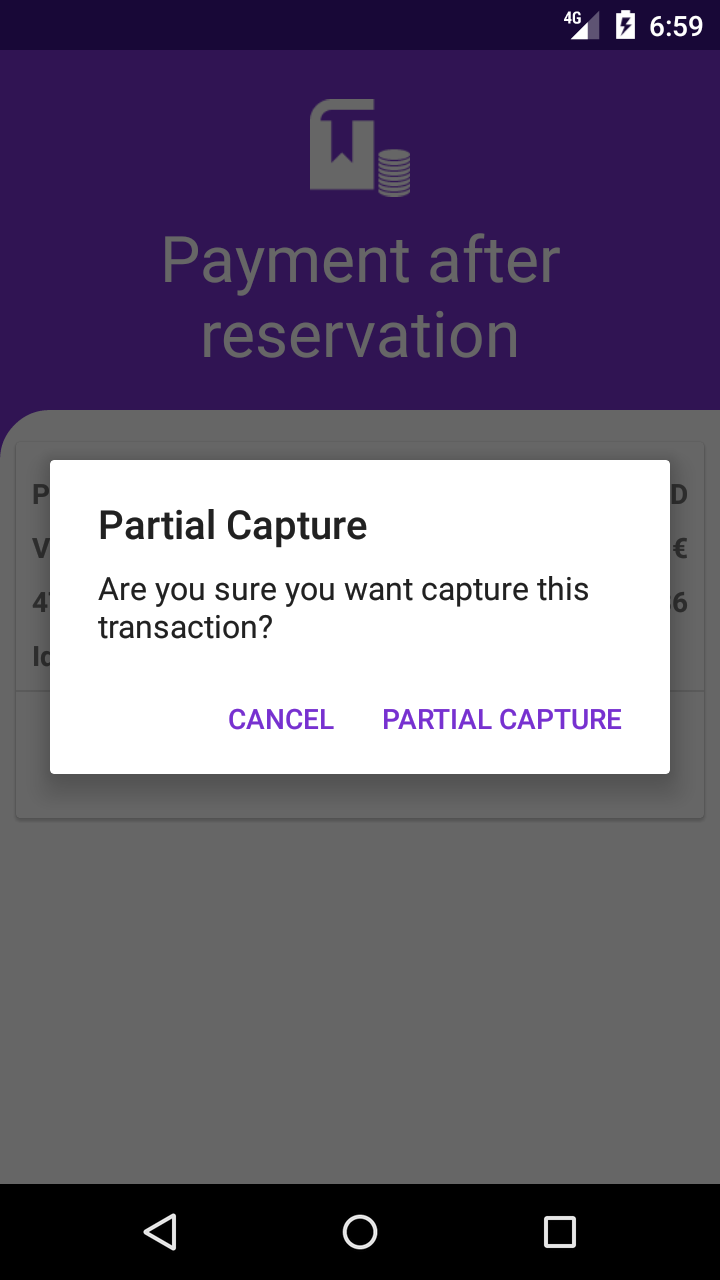
If you are sure you want to capture this transaction click on ''Partial Capture''.
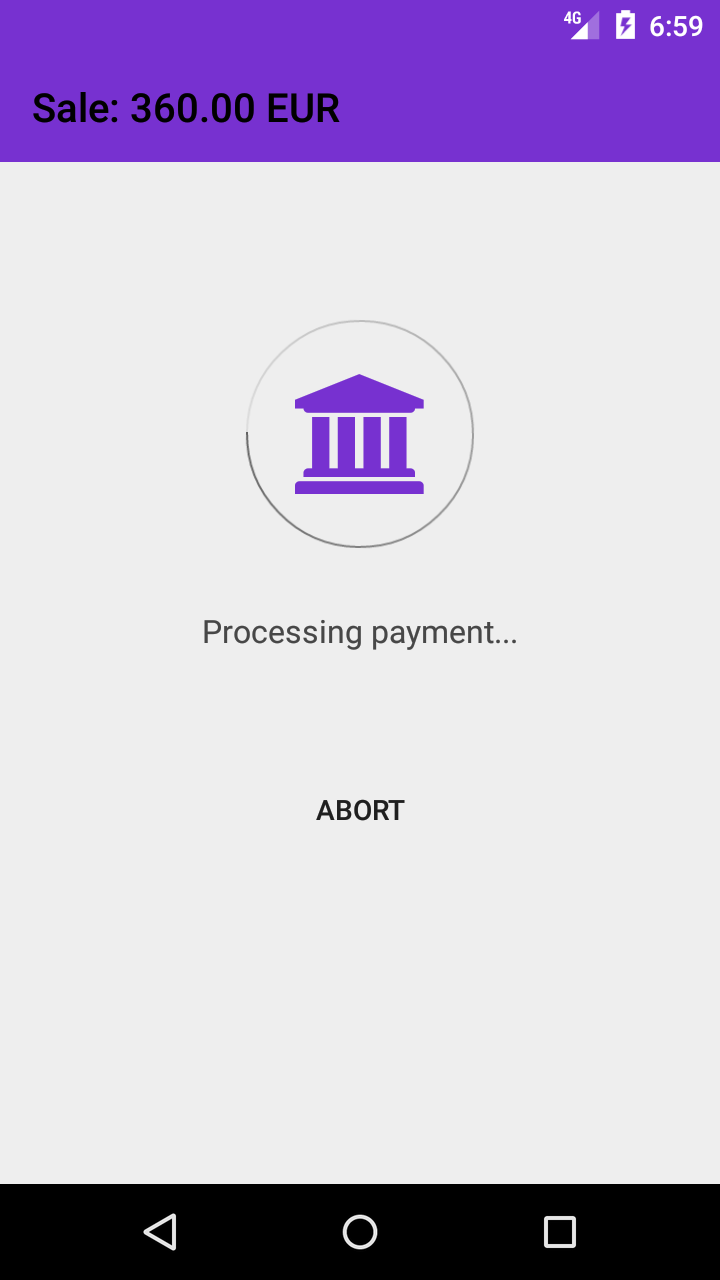
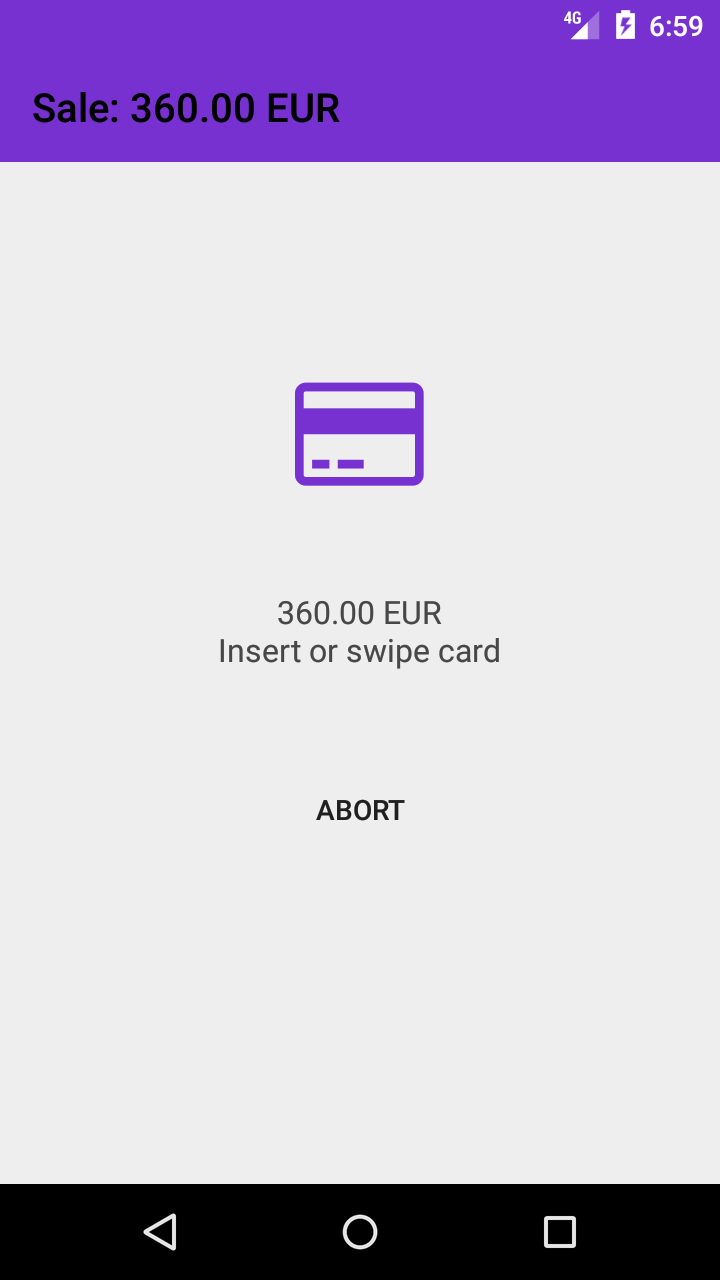
Processing payment.
Insert or swipe card.
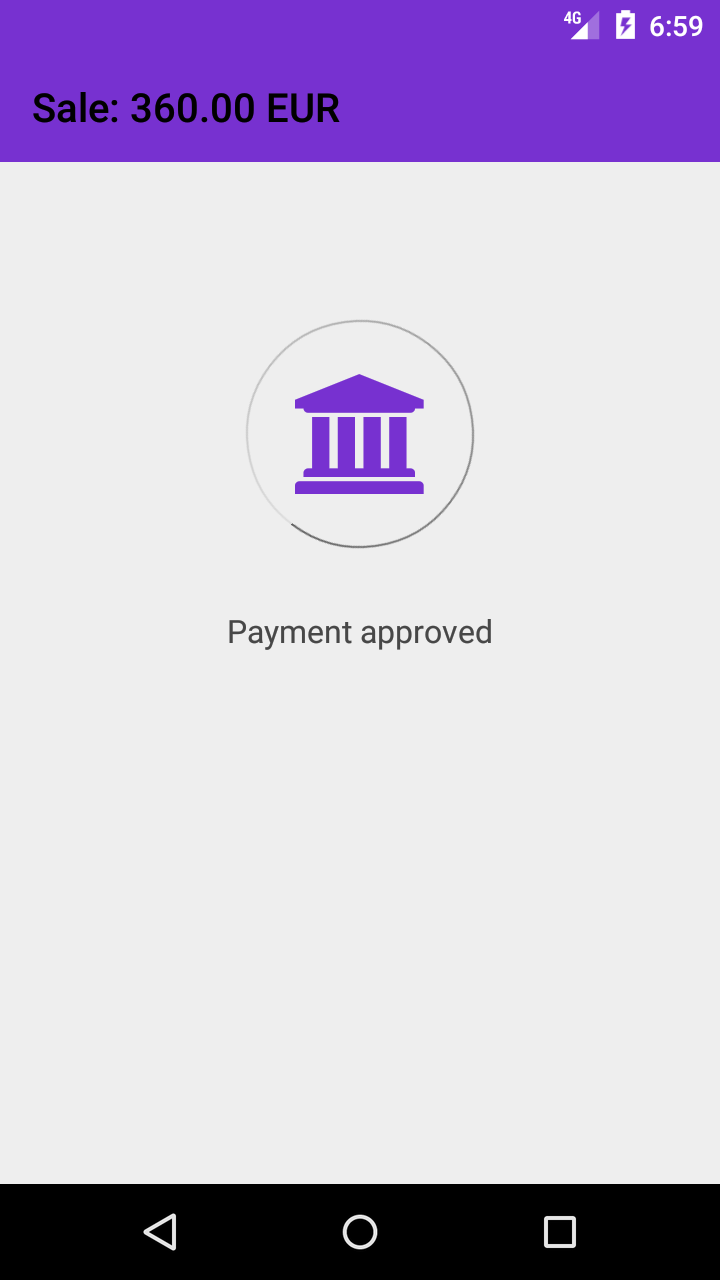
Payment approved.
After approved payment, you can send a receipt, print a customer receipt, print a merchant receipt, or close.
6. Refund
You can choose a partial or complete refund.
- Partial refund is only allowed for payments and not for reservation without payment (capture)
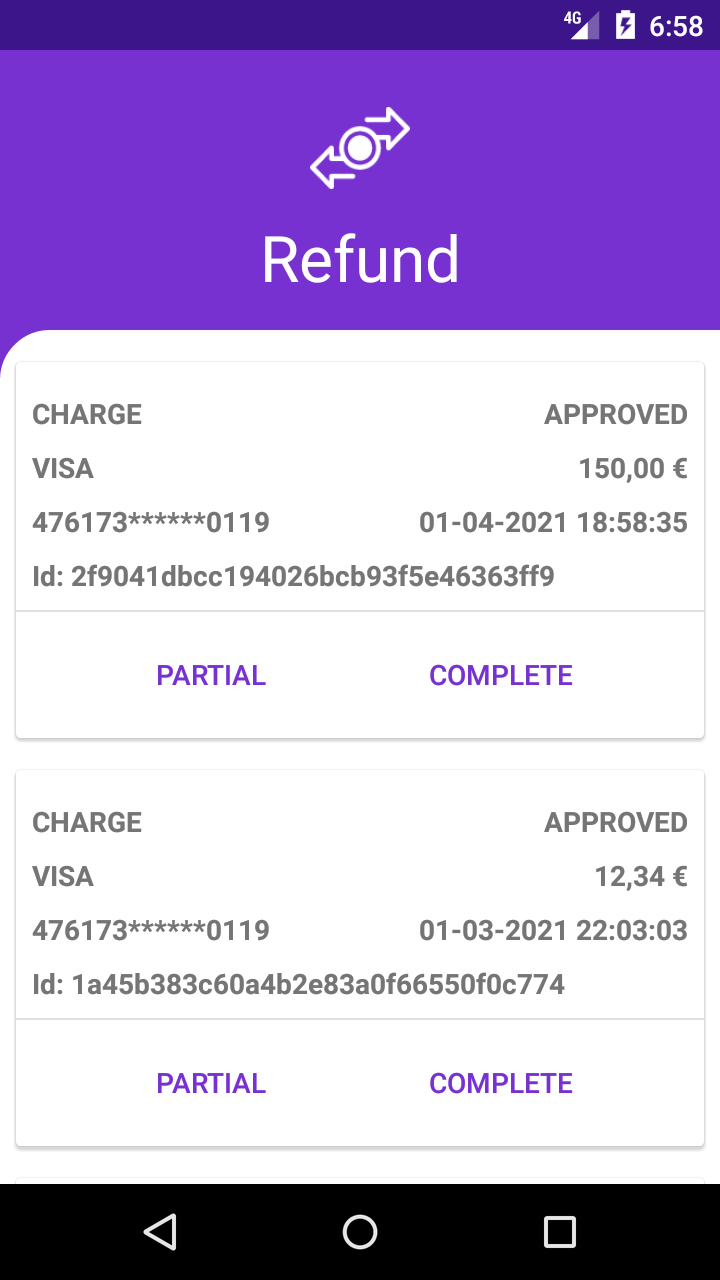
If you click on ''complete'' the total amount will be refunded.
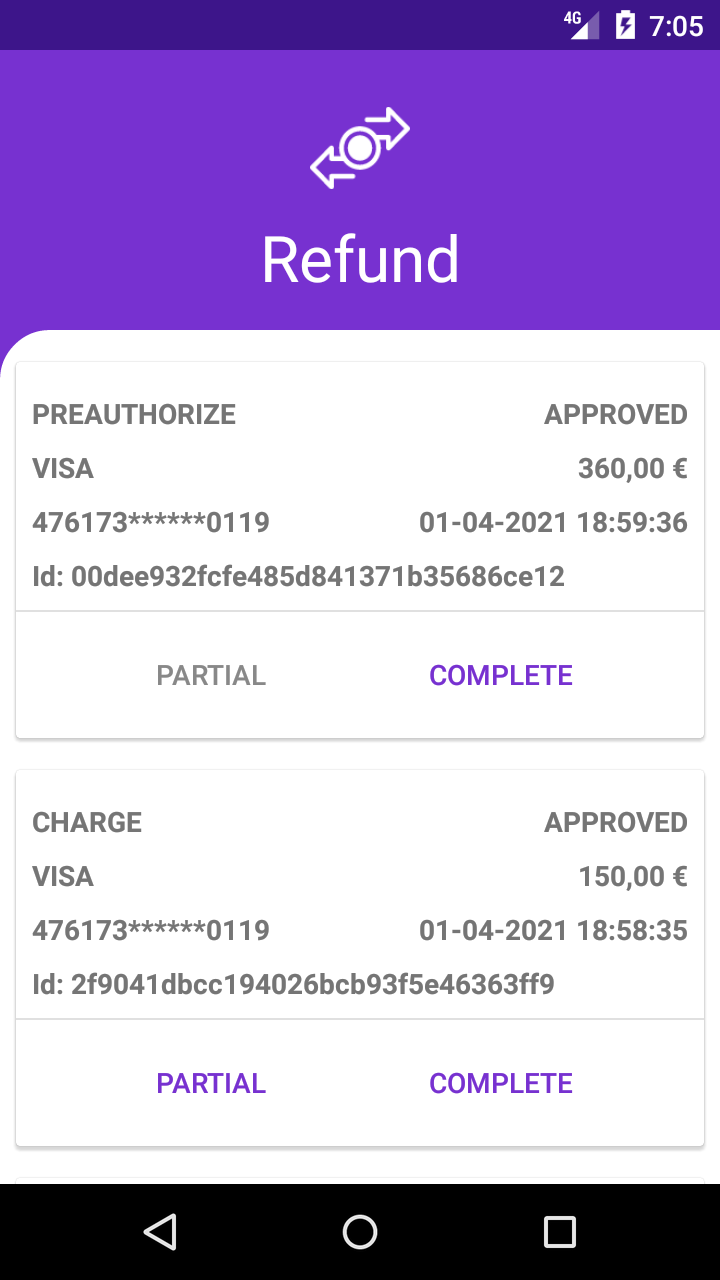
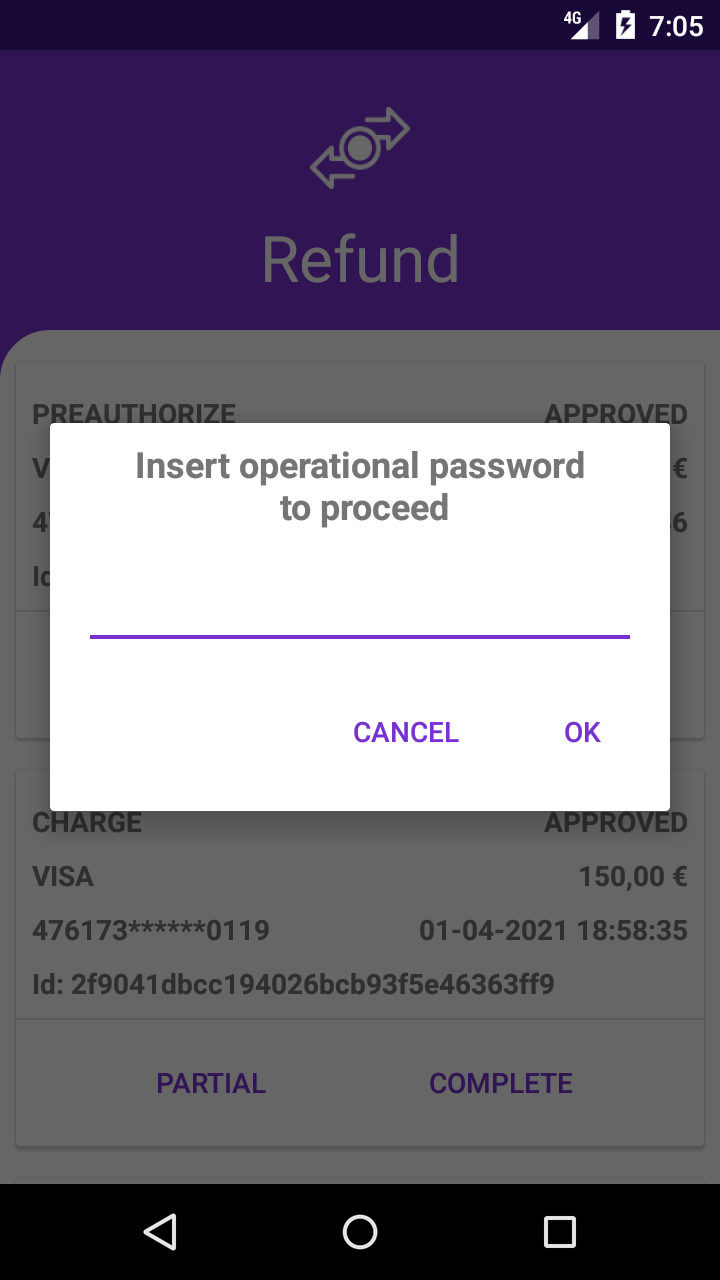
Click ''ok'' for inserting operational password to proceed.
- OperationPassword is optional based on merchant configuration.
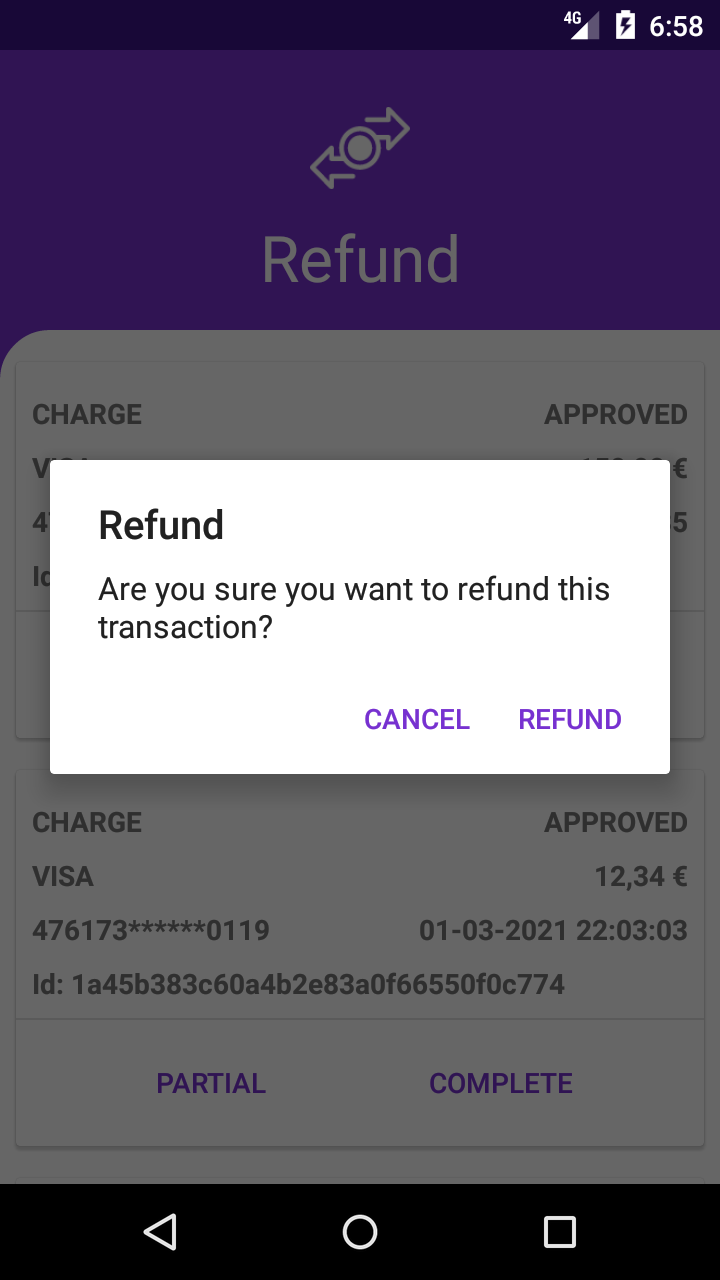
If you are sure you want to refund the transaction, click ''Refund''.
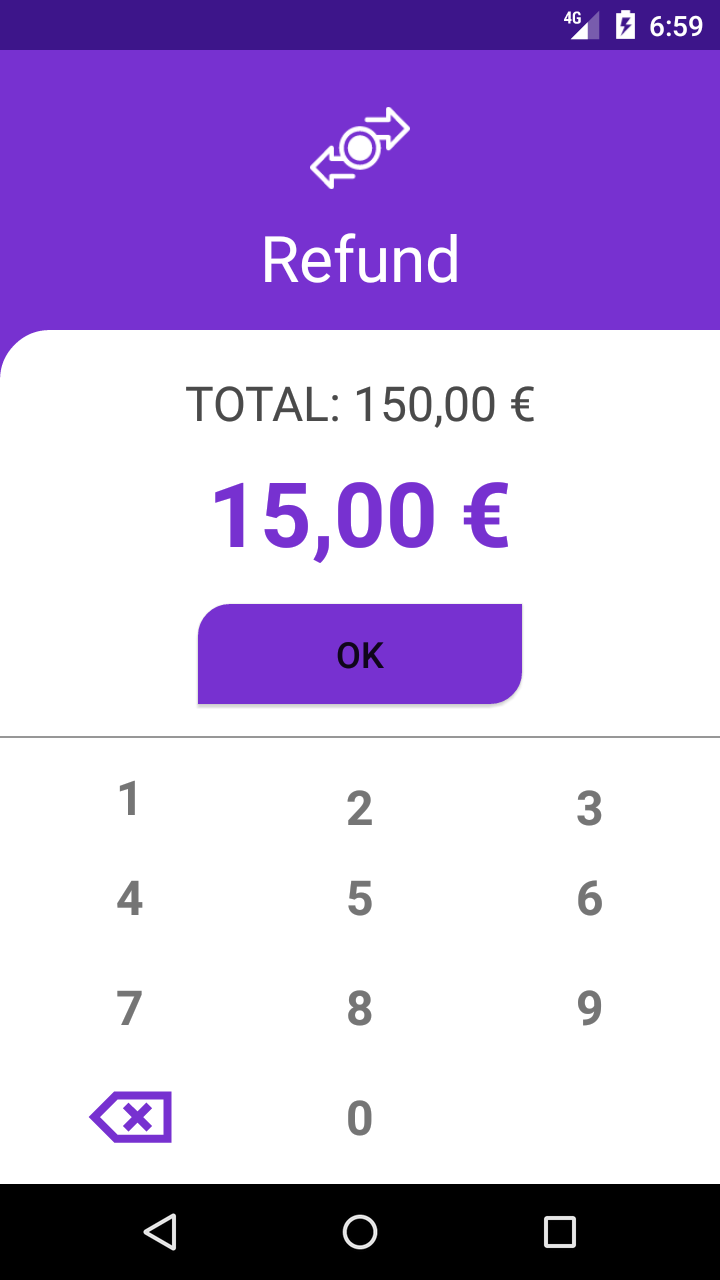
Type the refund amount.
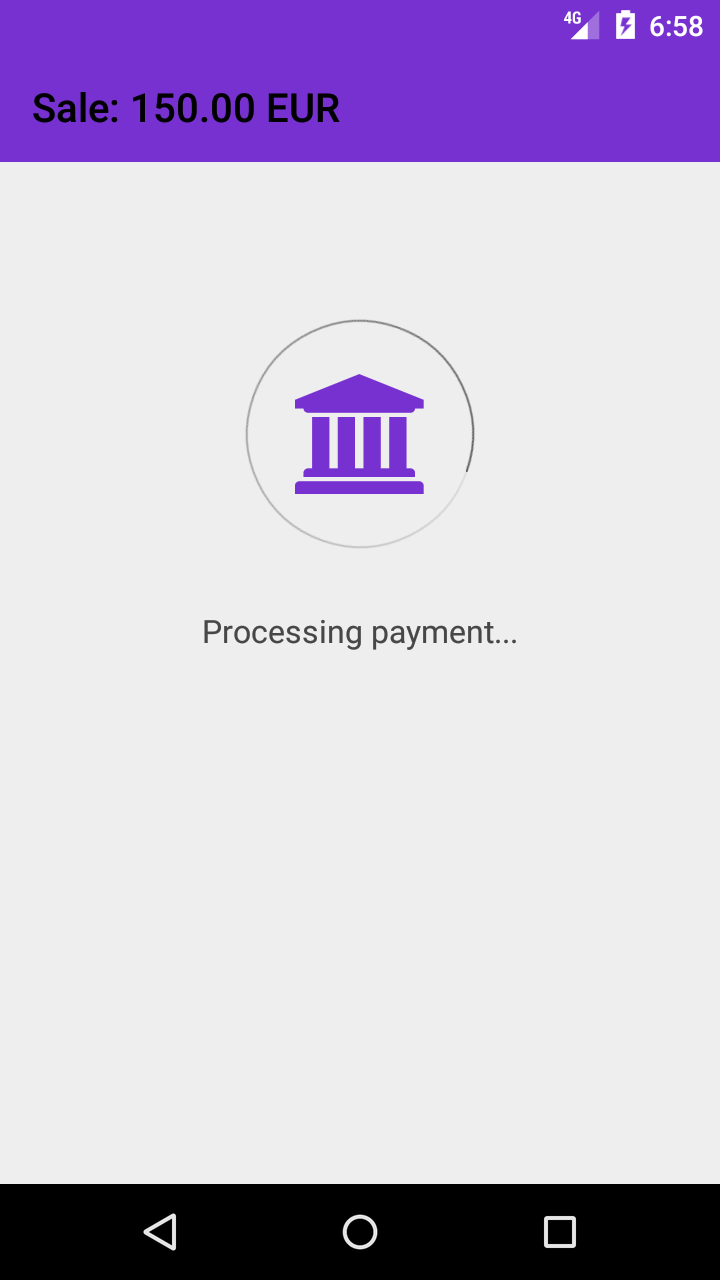
Processing payment.
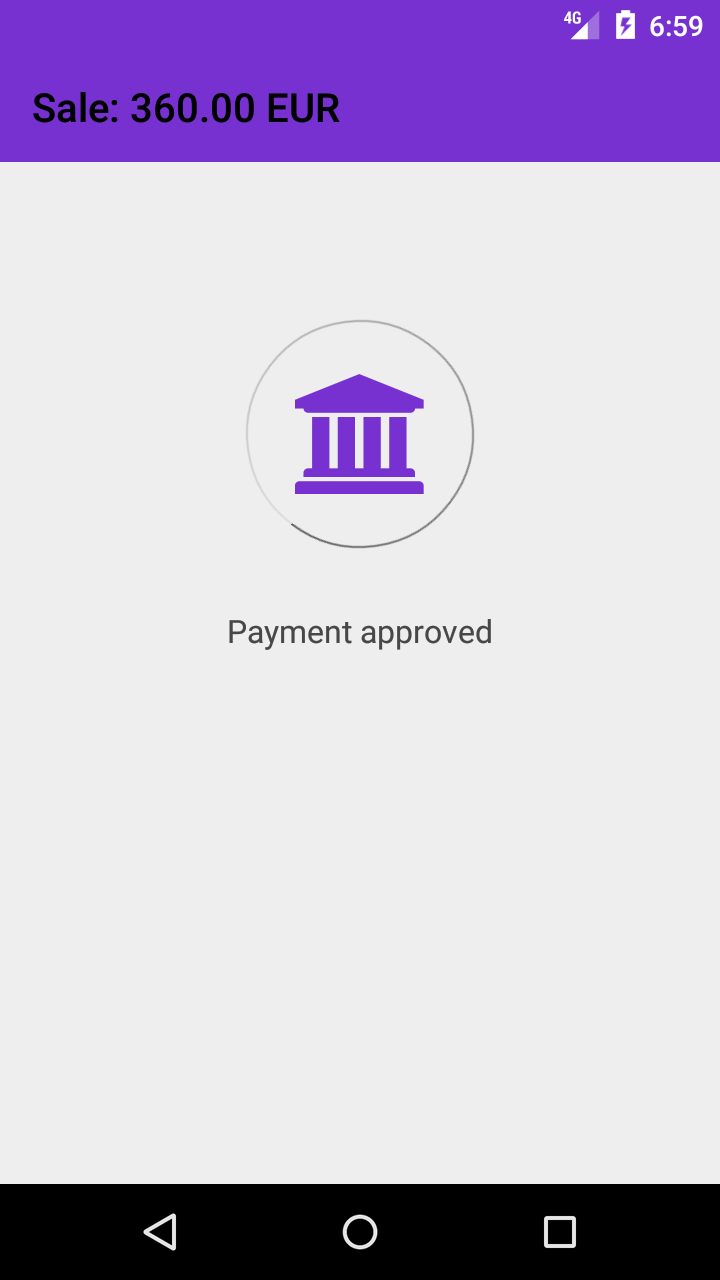
Payment approved.
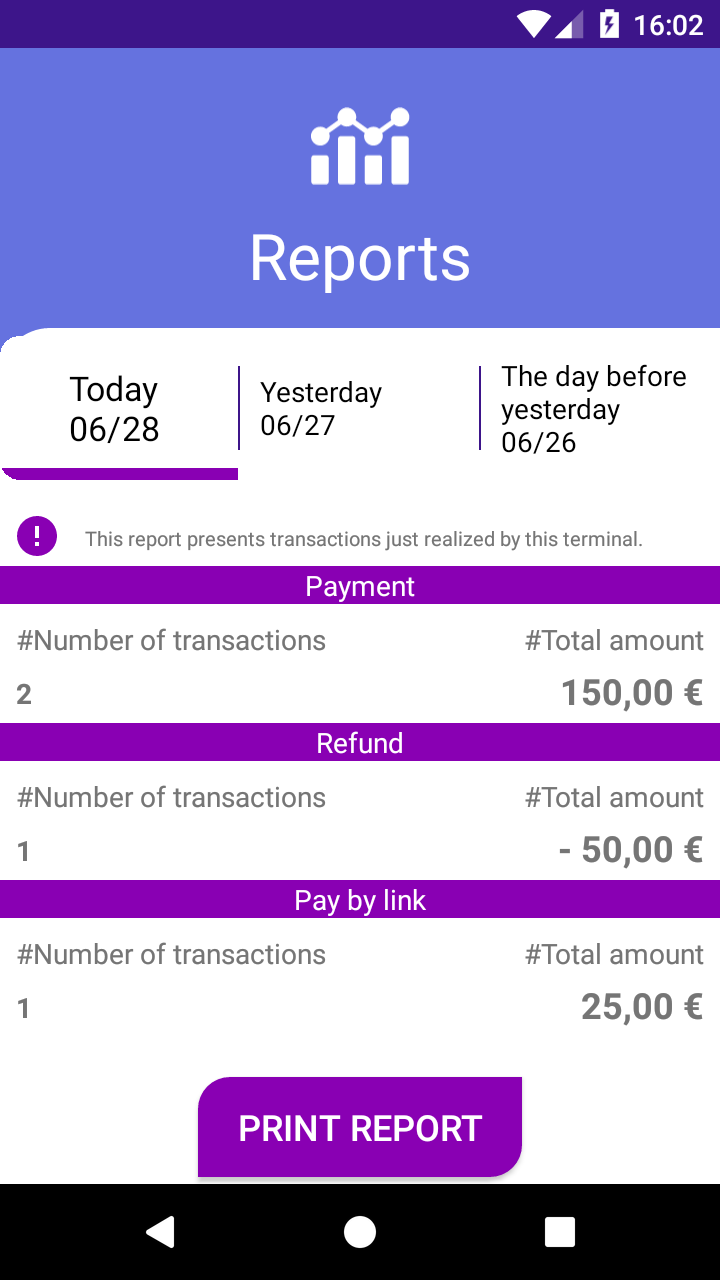
Reports
You can select reports for today, yesterday, and the day before yesterday.
- Payment
- Payment of Reservation (Capture of Preauthorization)
- Refund of Payment
- Refund of Payment of Reservation (capture of Preauthorization)
- Pay by Link Payment
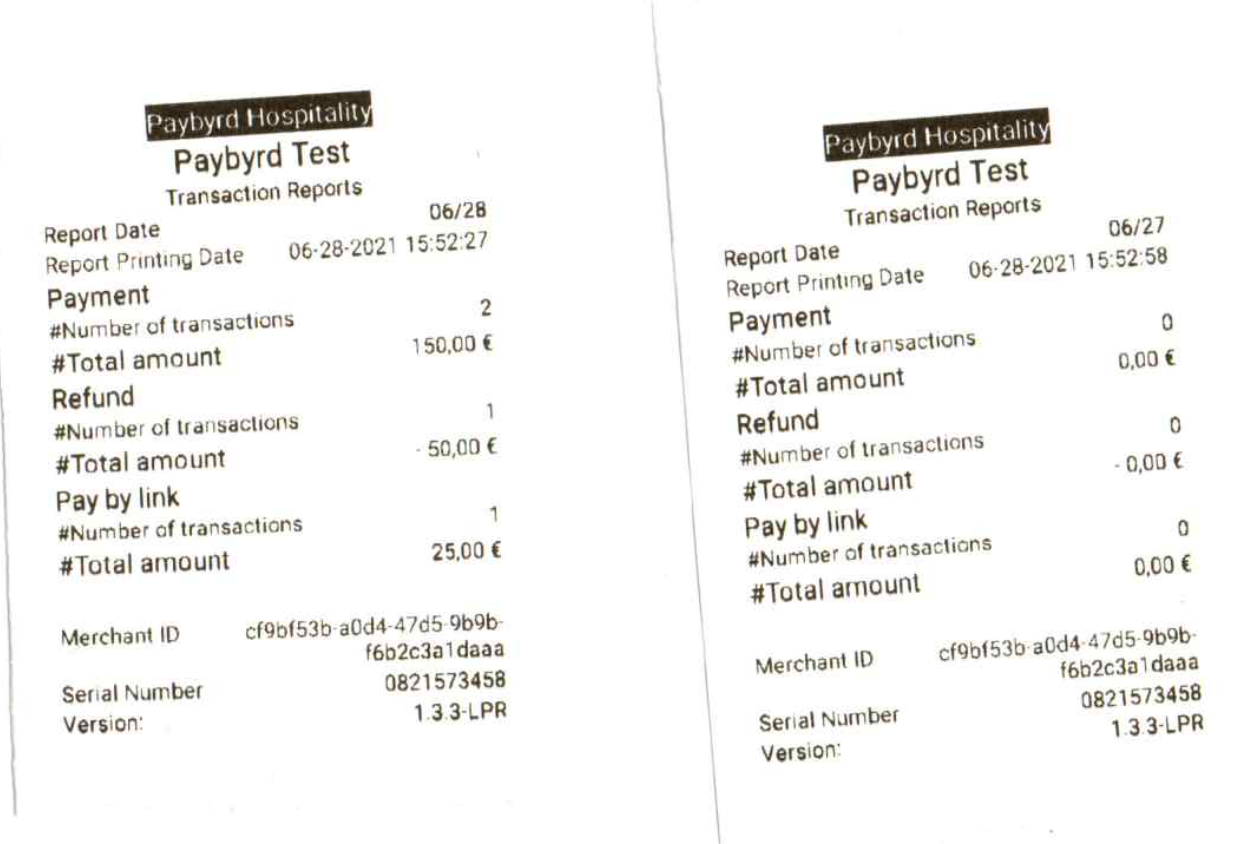
Transaction Reports Receipt
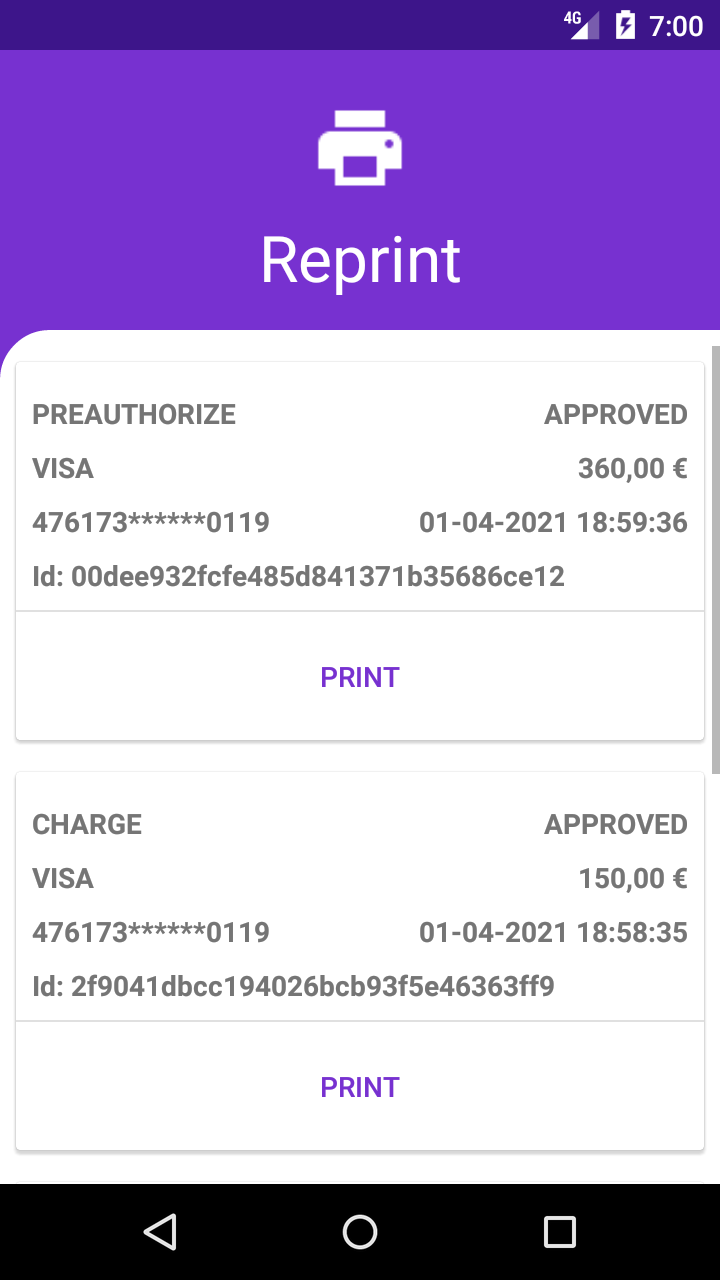
Reprint
Select ''Print''.
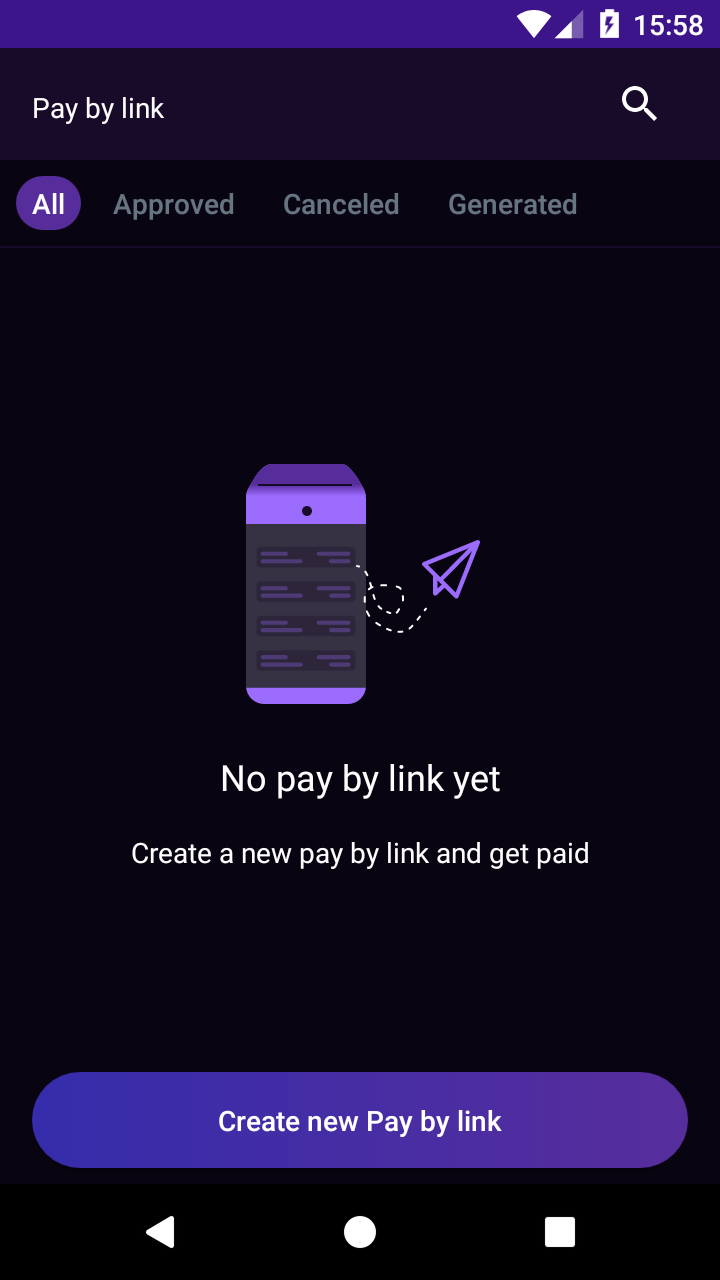
Pay by Link
Create new Pay by link.
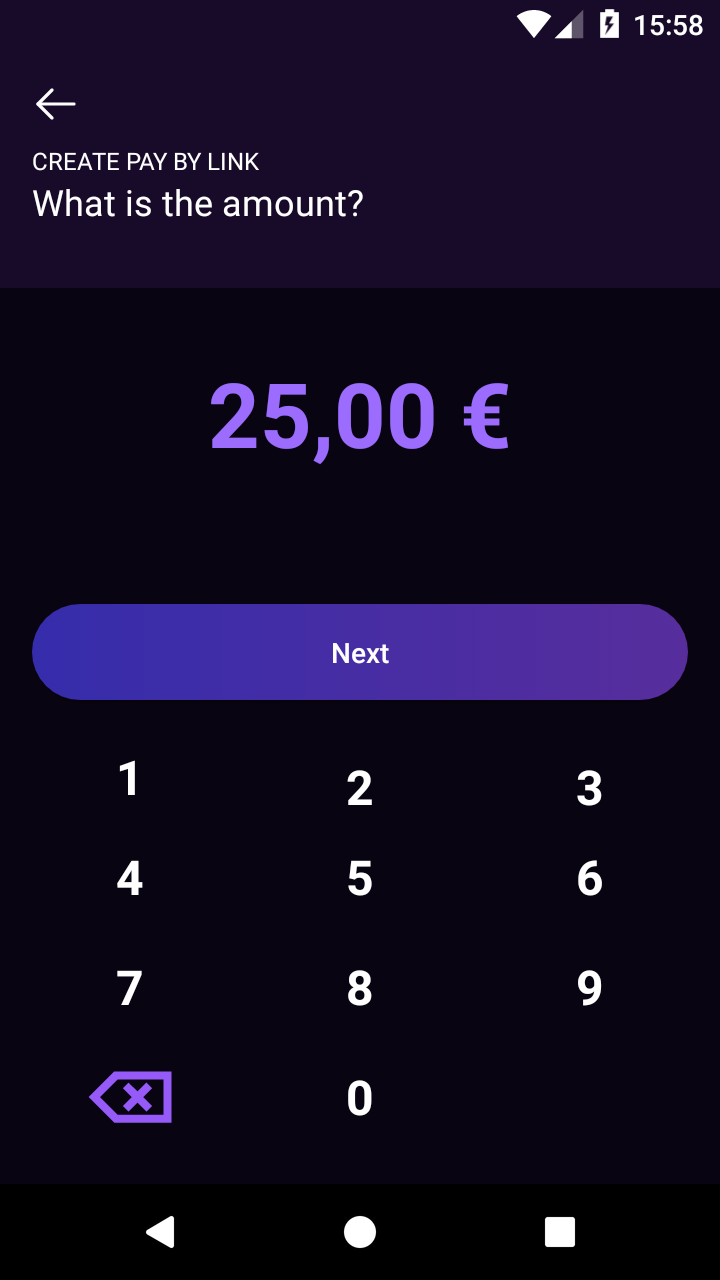
Type the amount.
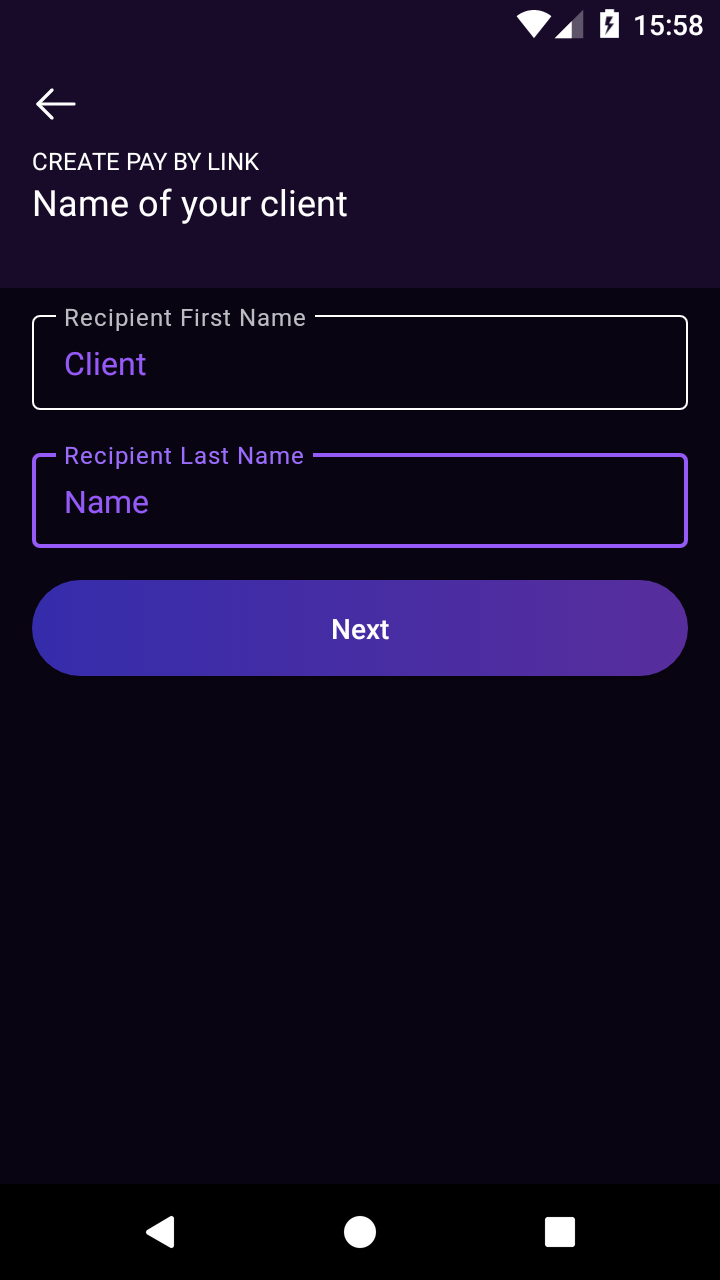
Type your client information.
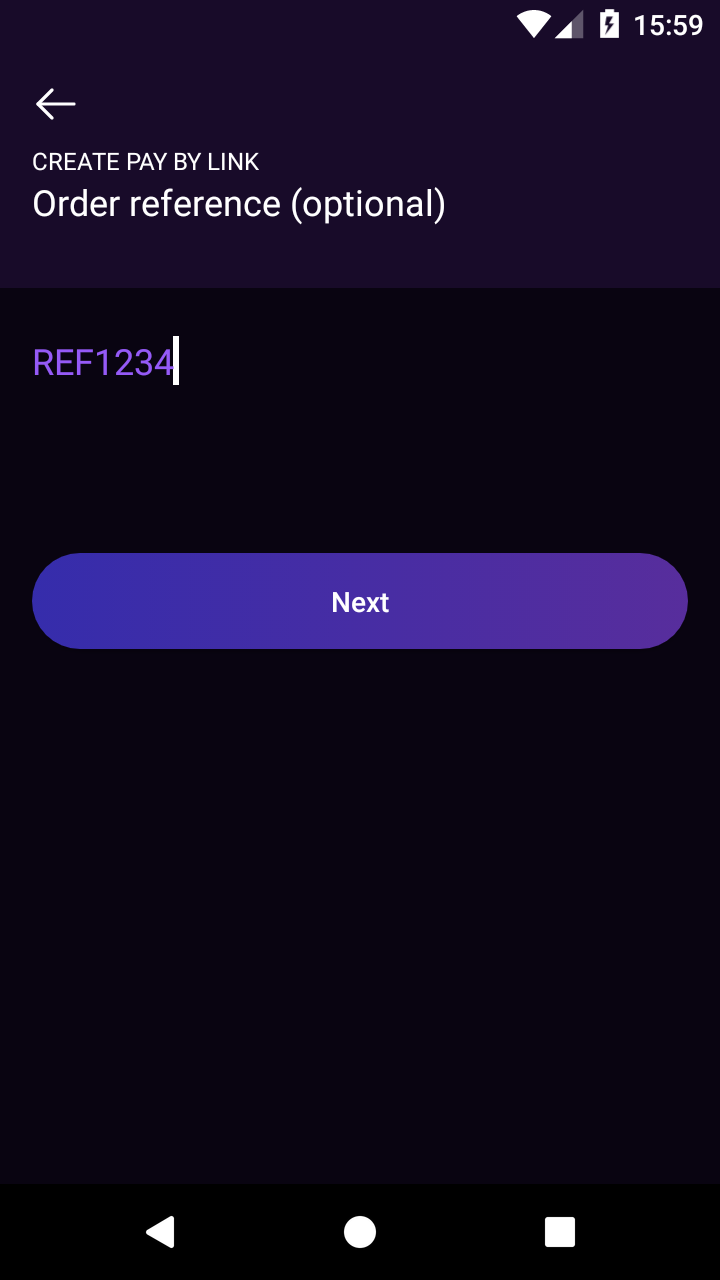
Type order reference.
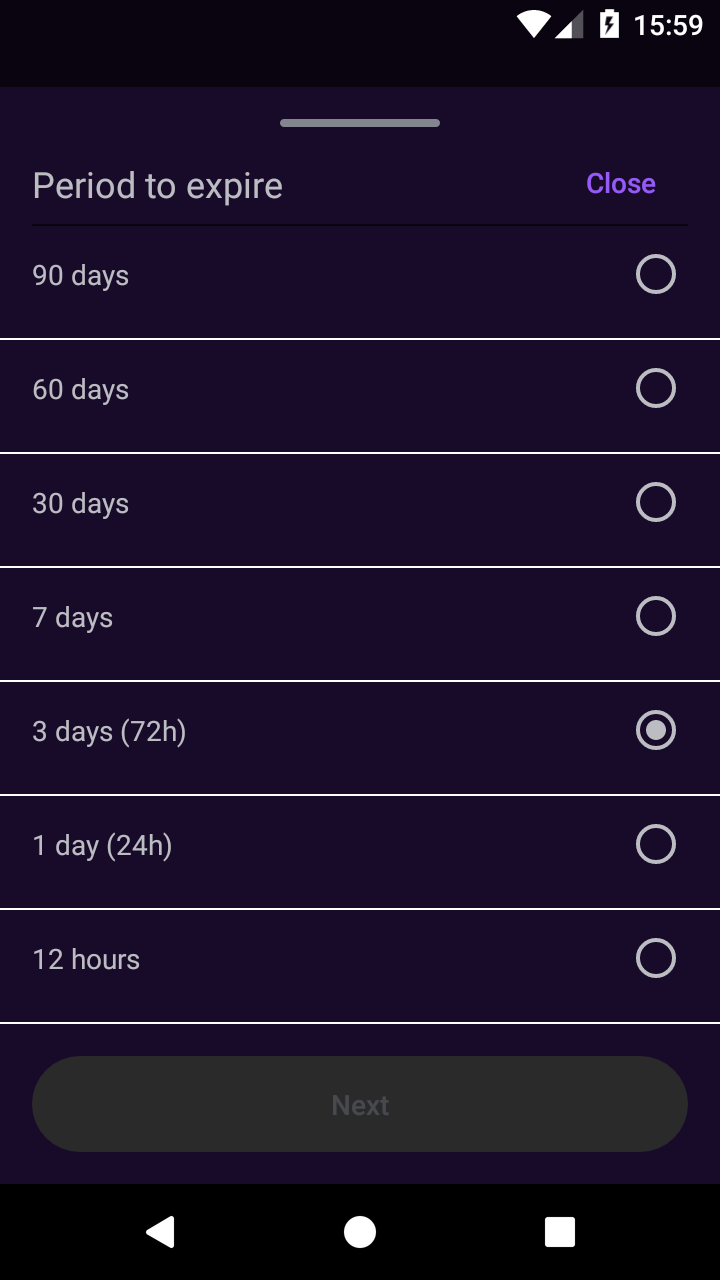
Select the Pay by link expiration period.
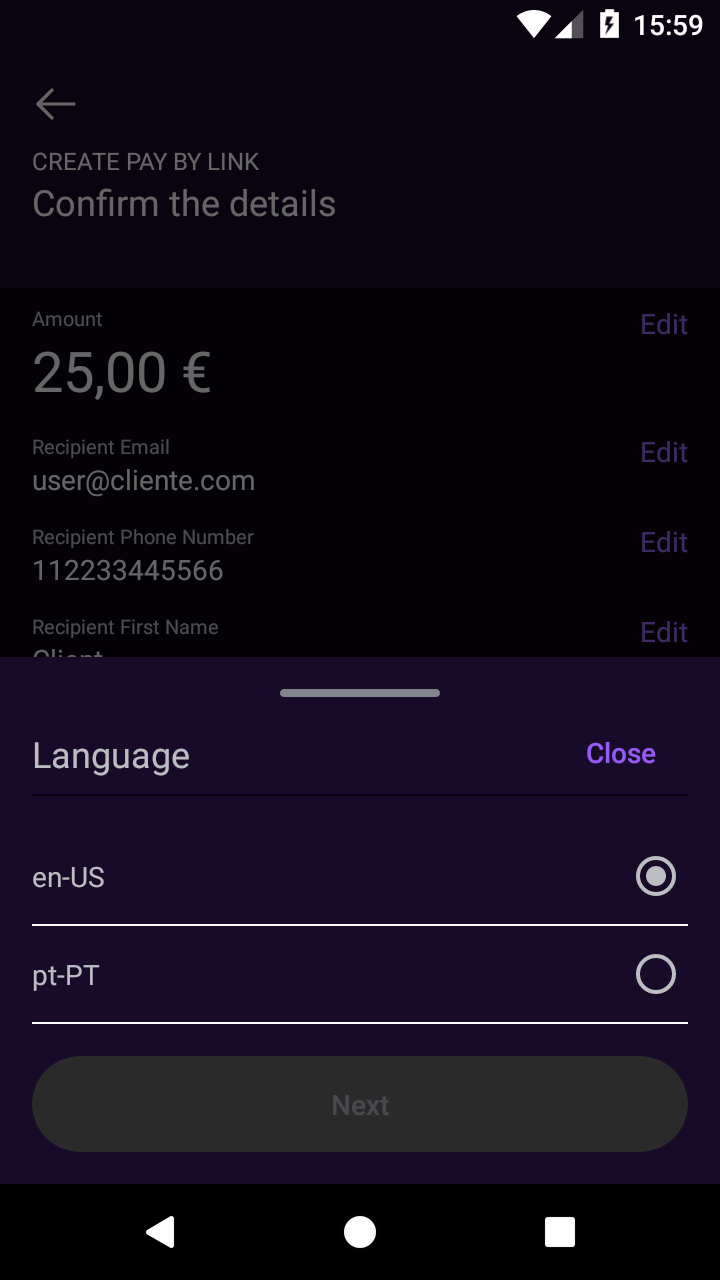
Select the language.
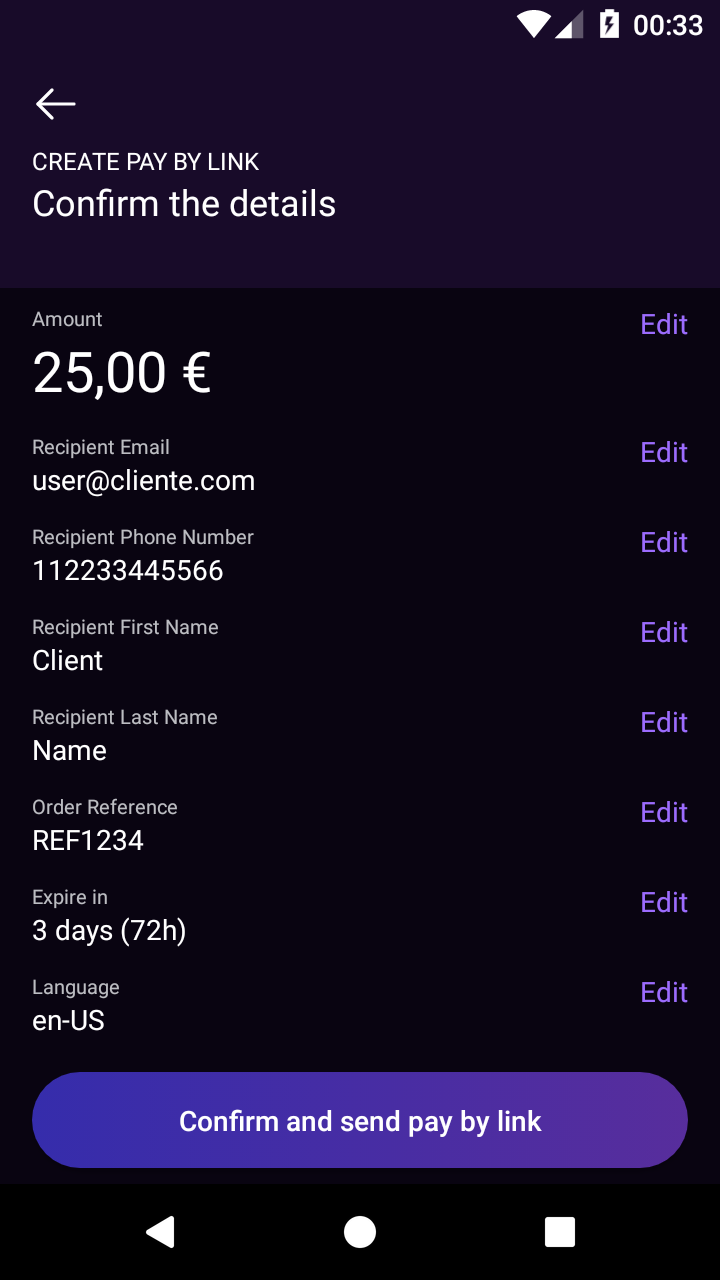
Confirm the details and send pay by link.
Successfully sent pay by link.
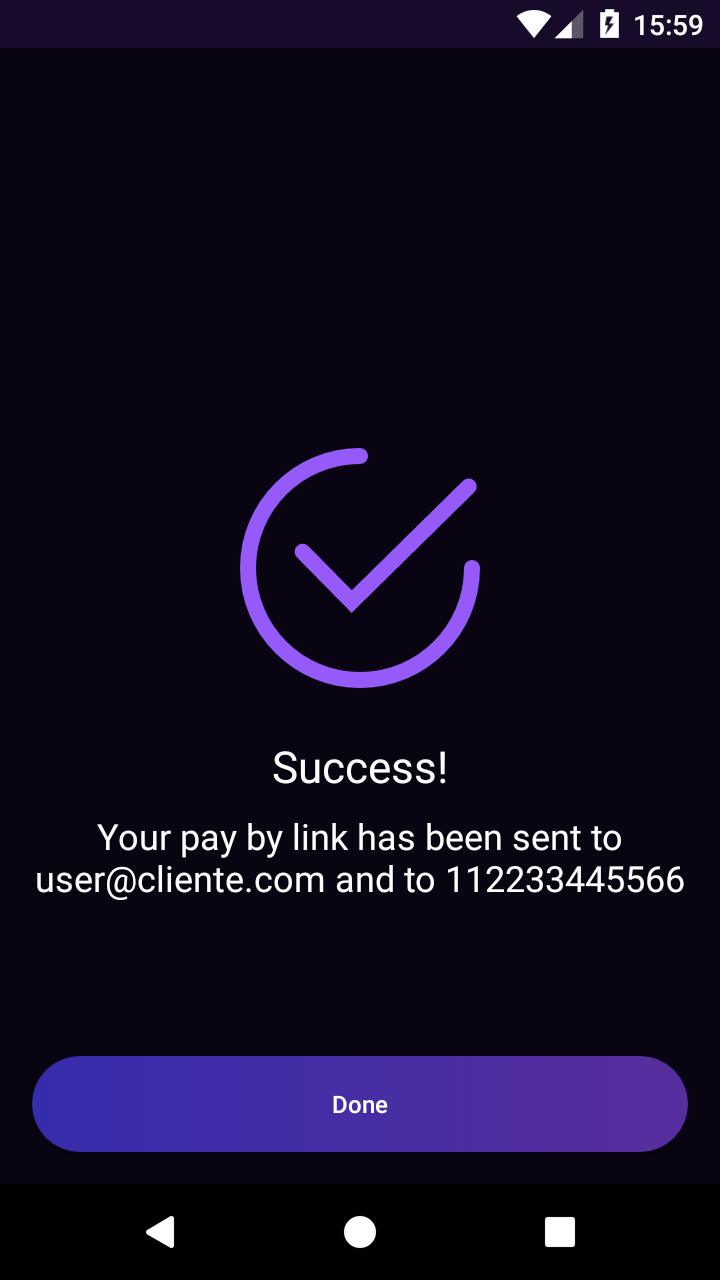
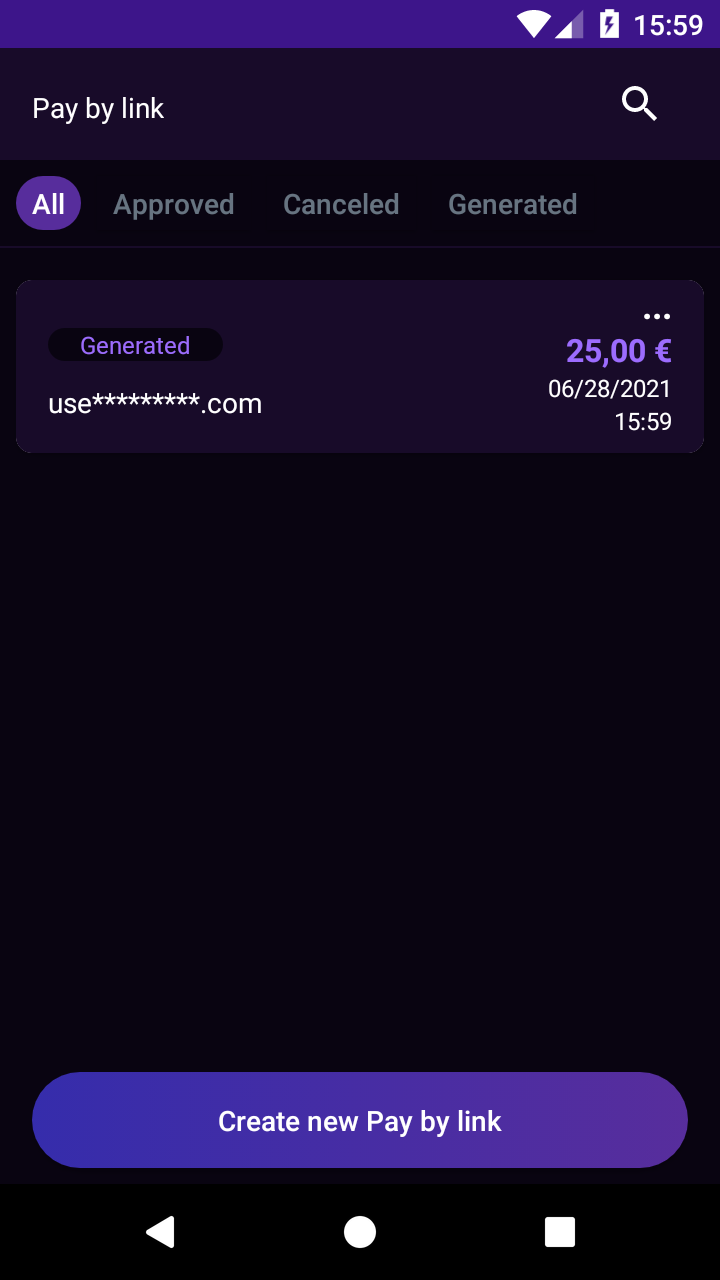
After successfully sending pay by link you can see it in your dashboard.
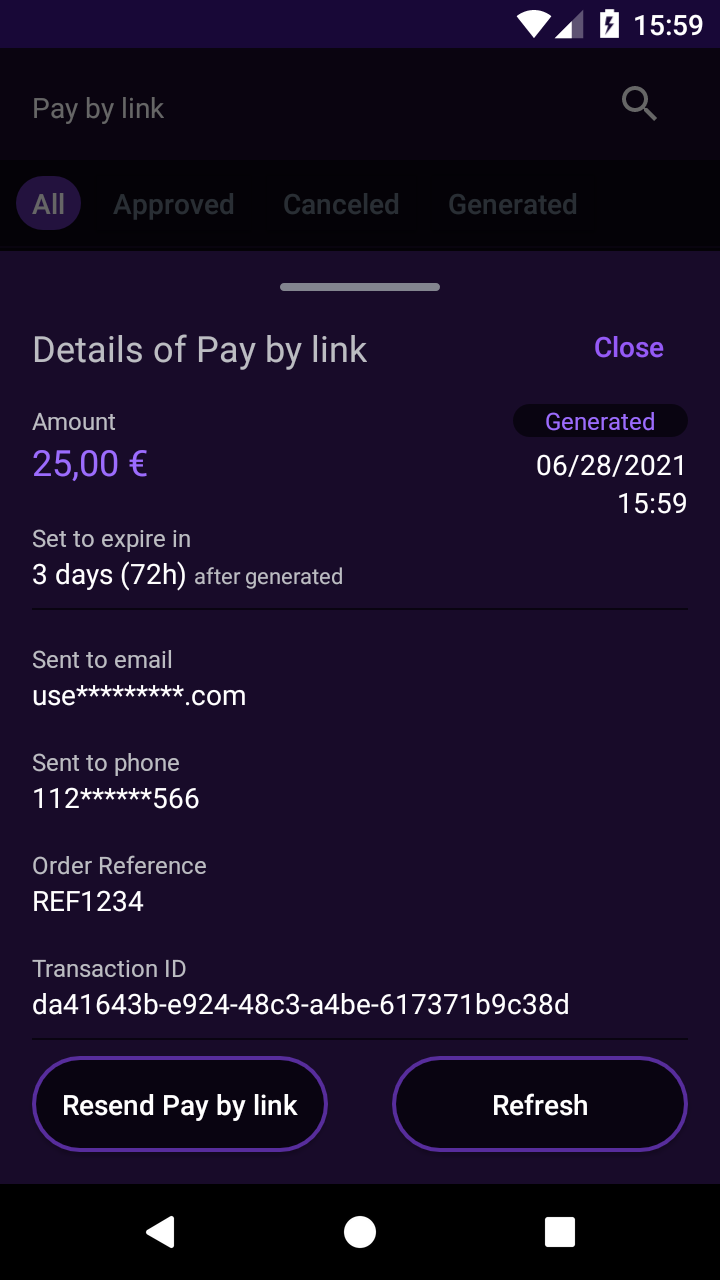
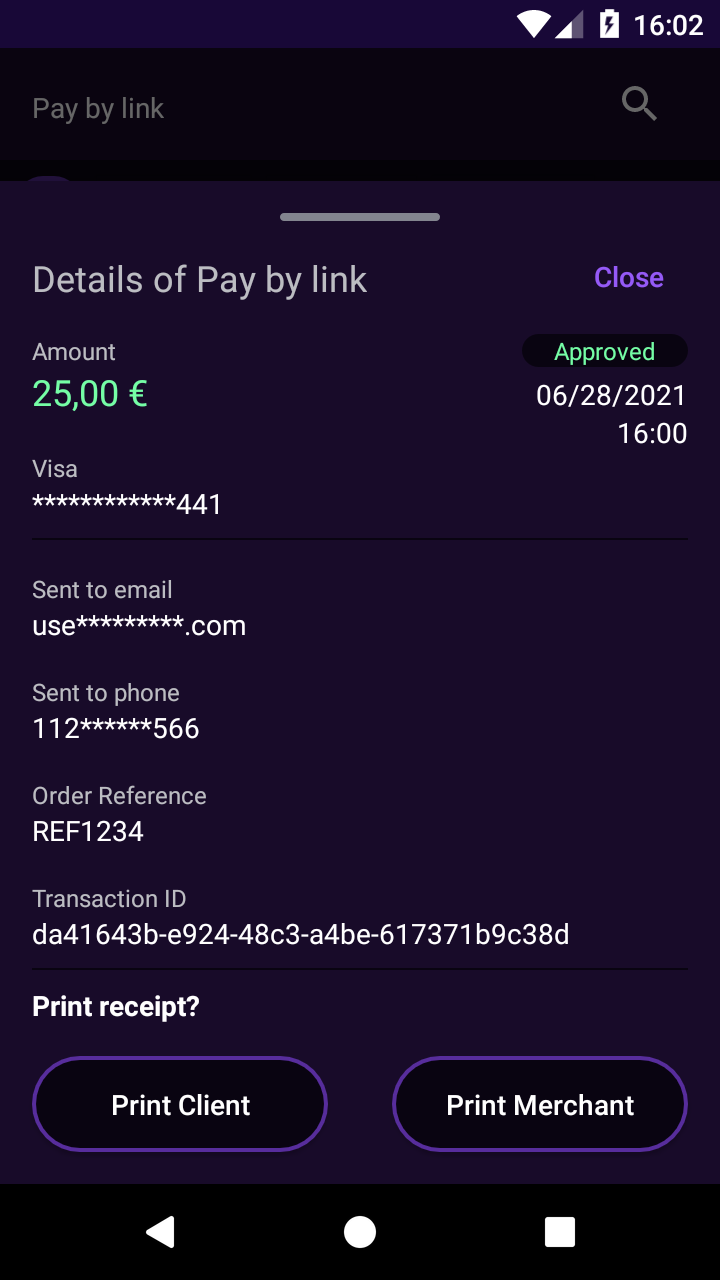
Check the details of Pay by link.
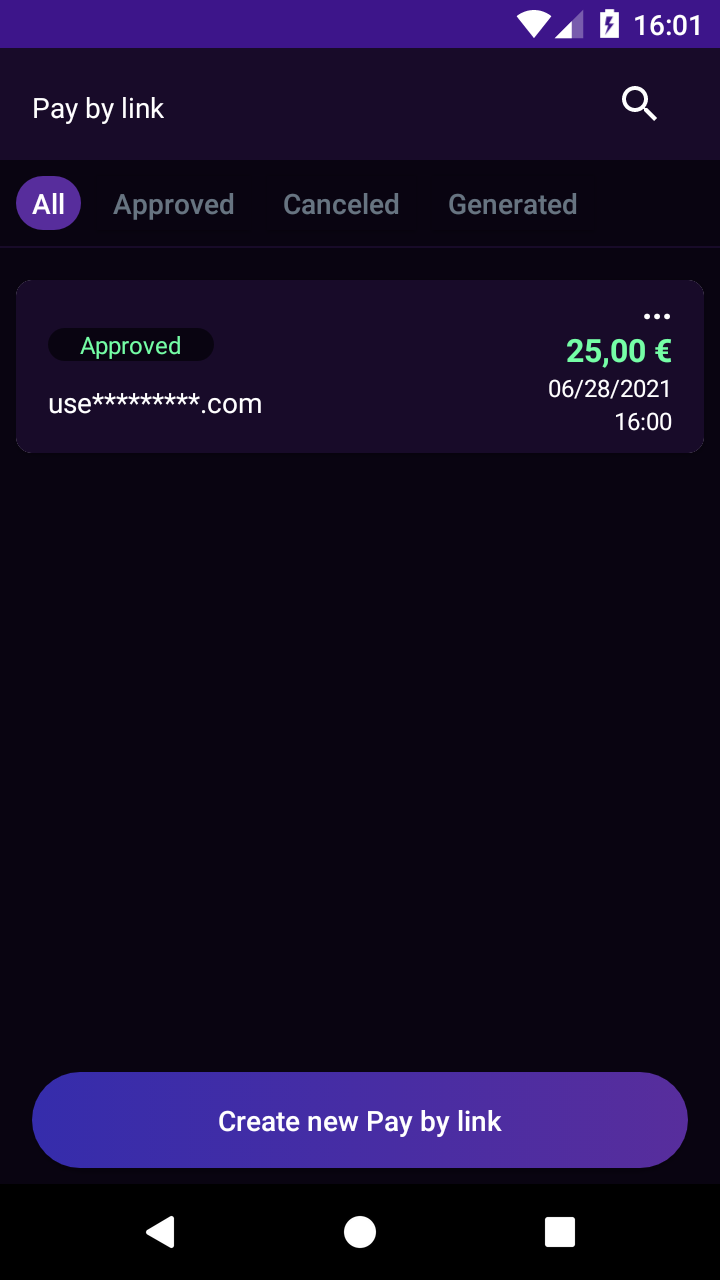
Once it is approved it will appear in green colors.
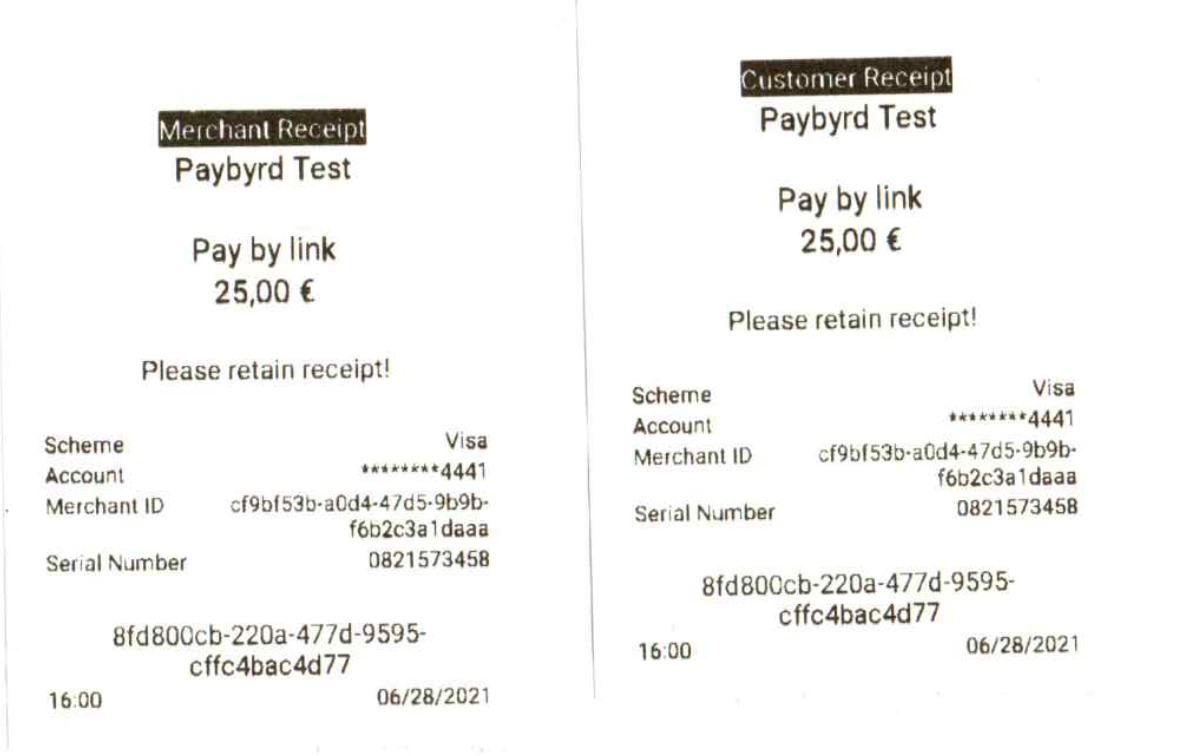
- Print Client
- Print Merchant
Paybylink Transaction Receipt
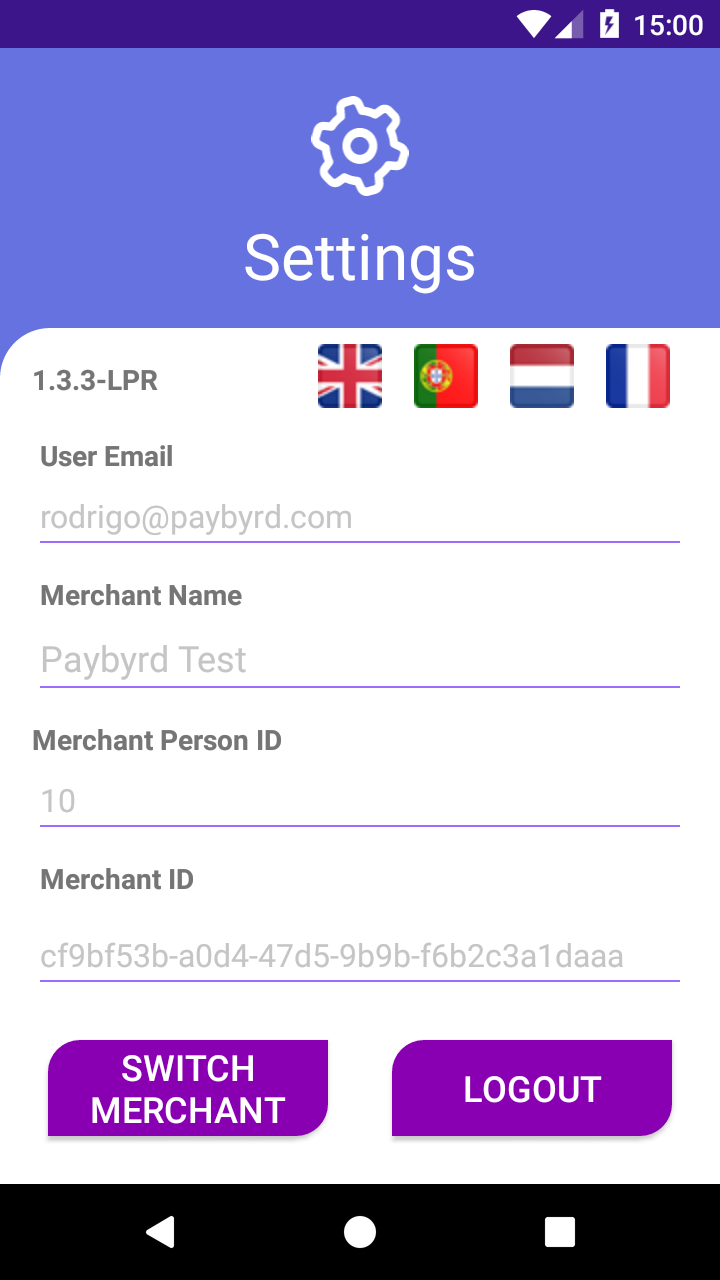
Settings
- Change the language by clicking on the chosen flag.
- If you click on ''Logout'' the login screen will be prompted after.
- Switch merchant by clicking on the icon.
Updated 4 months ago
